

If your event has already been created and the agenda has been set up, there may, of course, still be changes that you’d like to add later.
To do this, you can view and edit your event agenda.
1. Open the agenda #
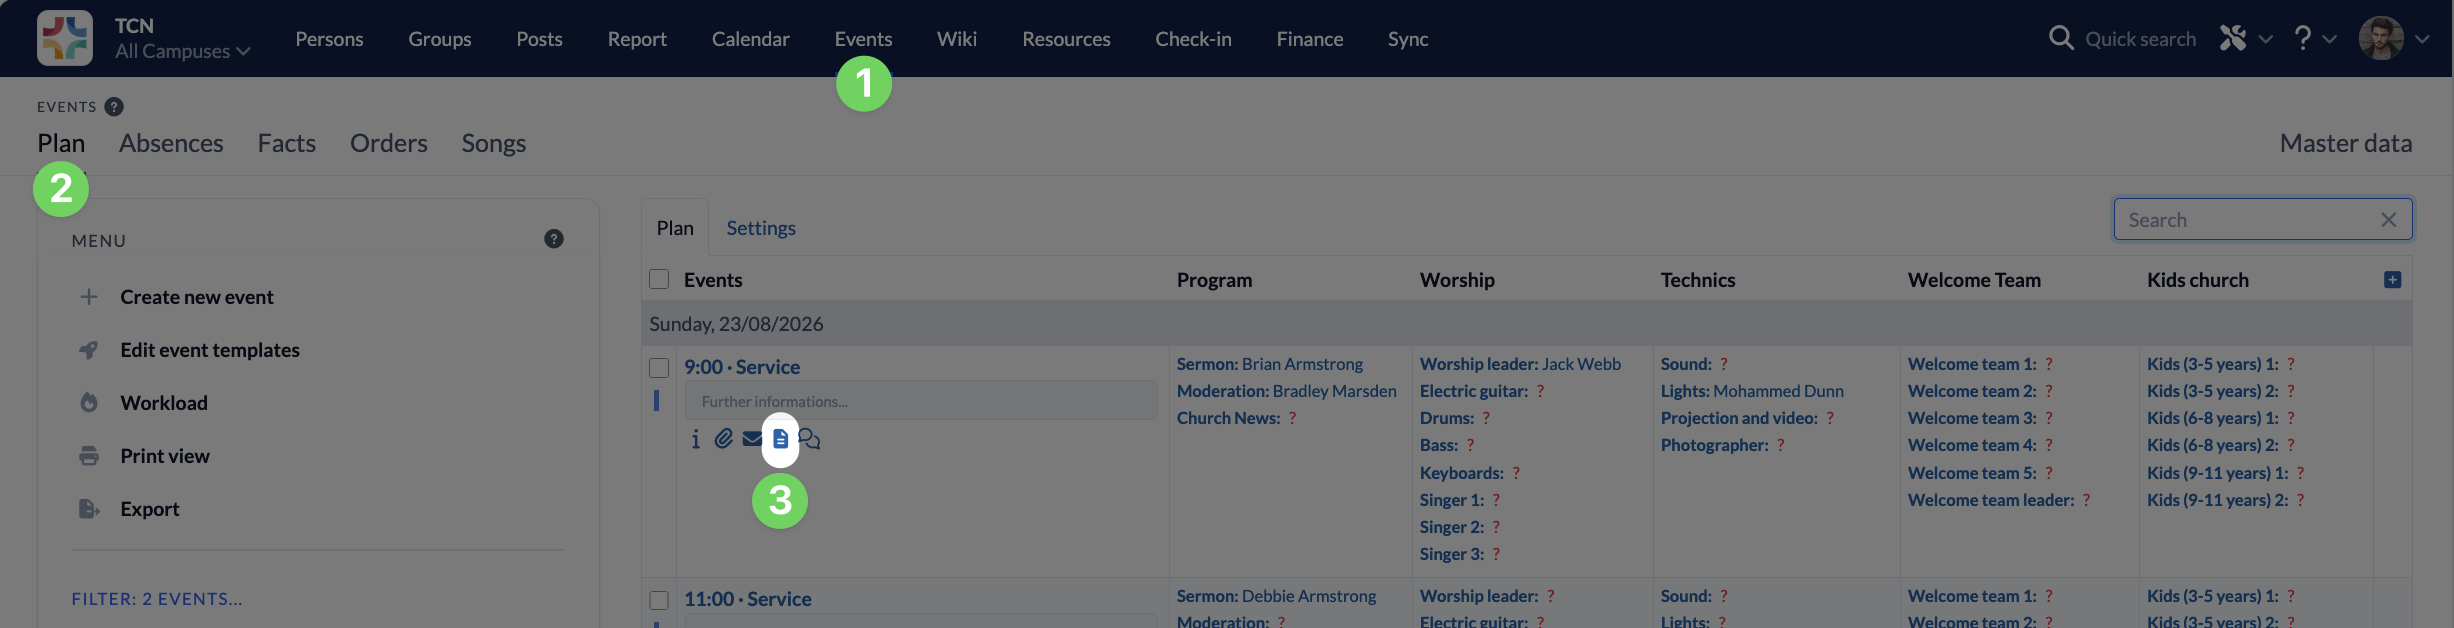
To do this, select your event and click the button to open the agenda.
2. Edit the agenda #
Now you can edit your Agenda.
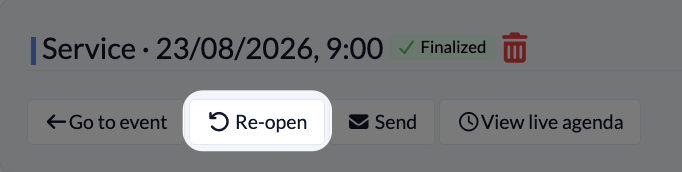
You may need to unlock it again first.
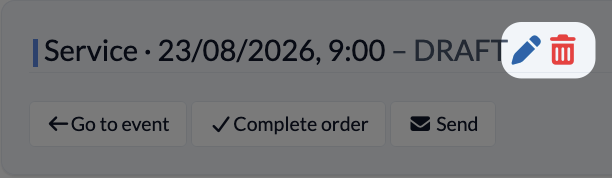
Here , you can also rename your Agenda , save it as a new template, or delete it.
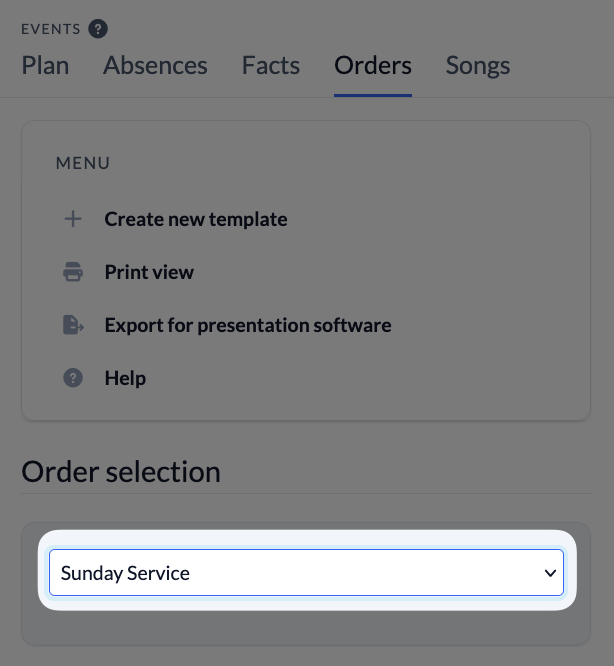
On the left side, before you start editing your Agenda, you can select an Agenda template if the one currently selected doesn’t work for you.
You can choose between saved Agenda templates or Agendas from recent events.
Find out how to create a new agenda template here.
2.1 Edit program Items #
Your agenda is organized into program items. Each item or song corresponds to a program item. The headings give your agenda structure. They are displayed as lines highlighted in gray.
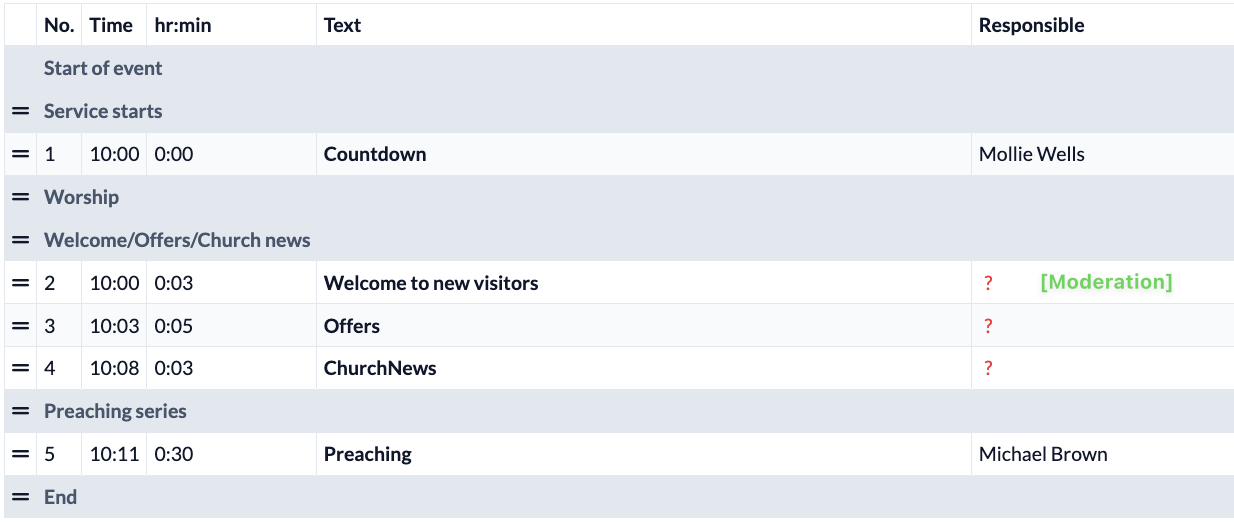
The quickest way to edit individual details of a program item is to click directly on an entry, make your changes, and press Enter to save.

When you hover your mouse over a program item, editing tools appear behind it. Use the pencil to edit all the data for that program item in a single view. Use the trash can icon to delete it. And use the plus sign to add new program items (positions), songs, or headings before or after it.

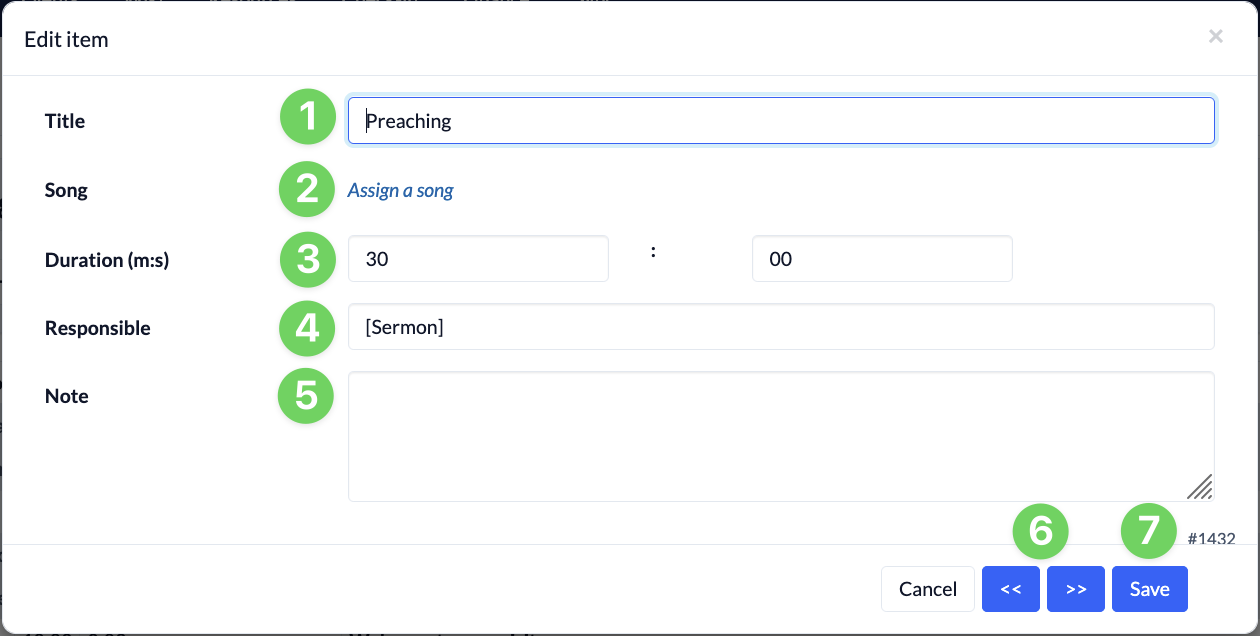
The following entries are part of a program item:
- Title (1): Enter the name of the program item here.
- Song (2): Here you can link to a song from your song database and then select which arrangement of the song should be played.
- Duration (3): Enter the duration of the program item here.
- Responsible (4): Here you can use placeholders to automatically link the staff assigned to this program item from the duty roster. To do this, enclose the name of the role in square brackets, e.g., [Sermon] or [Tech].
- Note (5): You can add a note. It will appear below the title of the agenda item.
- Use the arrow keys to move to the previous and next positions, and you can also edit them directly.
- Once you’re done making changes to the positions, you can save all the changes at once (7)
2.2 Editing columns #
In addition to the Time, Duration, Text, and Responsible columns, you can add more columns to your Agenda for individual role categories by clicking the plus sign and selecting the role categories that should have their own column. Click the minus sign in a service category column to remove it.

In these columns, for example, you can enter important information that is specifically relevant to this role category.
3. Finalize the agenda #
When you’re done and no further changes are needed to the Agenda, you can finalize it.
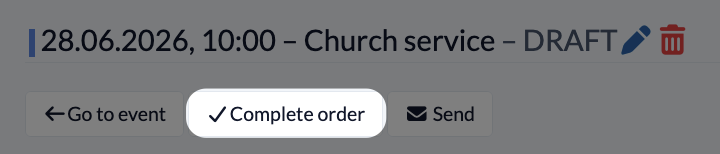
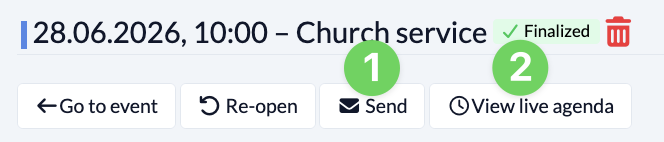
You can then send your Agenda via e-mail or access the live agenda. The live agenda is a display that shows, down to the minute, which part of the program the event is currently at, how long it’s expected to last, and which part of the program comes next. You can learn more about the live agenda here.