

Using the three columns, you can customize the check-in screen so that you can quickly and easily record the attendance of visitors or participants, even in chaotic situations.
If filters are set, you’ll see this at the top of the column above Notifications (highlighted in red).
Unfiltered View #
If you haven’t filtered anything in the left column (” Meetings “) or the middle column (” Groups “), you’ll see the following here:
- The ” Groups ” column shows all groups for which check-in is enabled.
- The ” Meetings ” column shows all events for which group meetings exist in these groups.
- The ” People ” column shows all people in these groups.
What filters are available in the “Groups” column? #
Here, you can click on a group to choose which people you want to see in the right-hand column.
If you’ve already selected a date in the ” Meetings ” column, you’ll see below the group name whether a group meeting already exists for that date. If none exists yet, a new one will be created as soon as you mark someone as present.
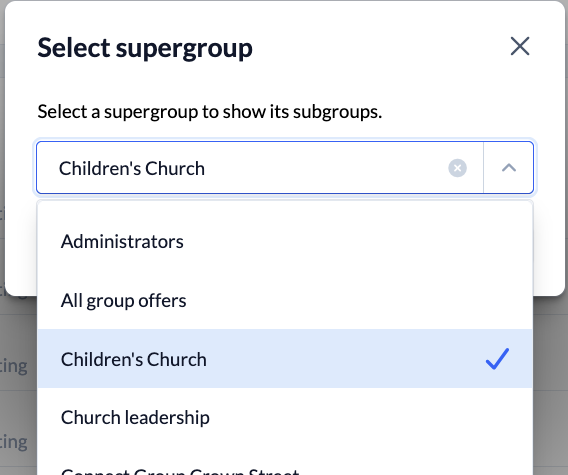
Using the gear icon , you can filter the displayed groups by the supergroup to which they belong. For example, if your children’s ministry groups are all subgroups of the “Children’s Church” supergroup, you can quickly display only those groups here by selecting “Children’s Church.”
How can I filter the ” Meetings ” column? #
With a single click, you can select one of the existing appointments. This changes the display below the groups, depending on whether a group meeting already exists for that appointment or not.
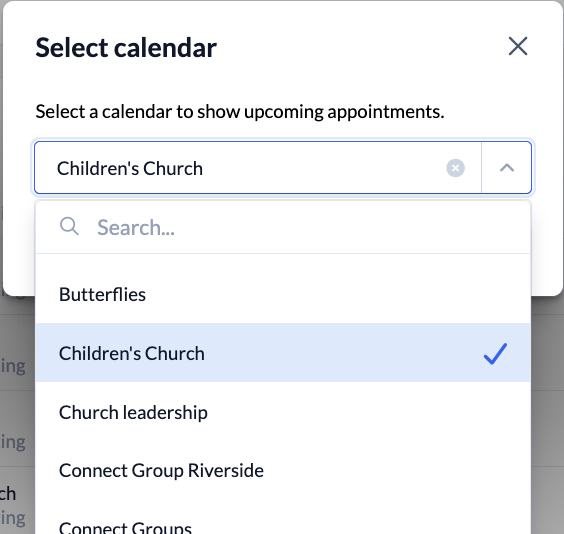
Using the gear icon , you can select a calendar and also view all events from that calendar. You can use the plus icon here to create new group meetings directly.
How to filter the list of people? #
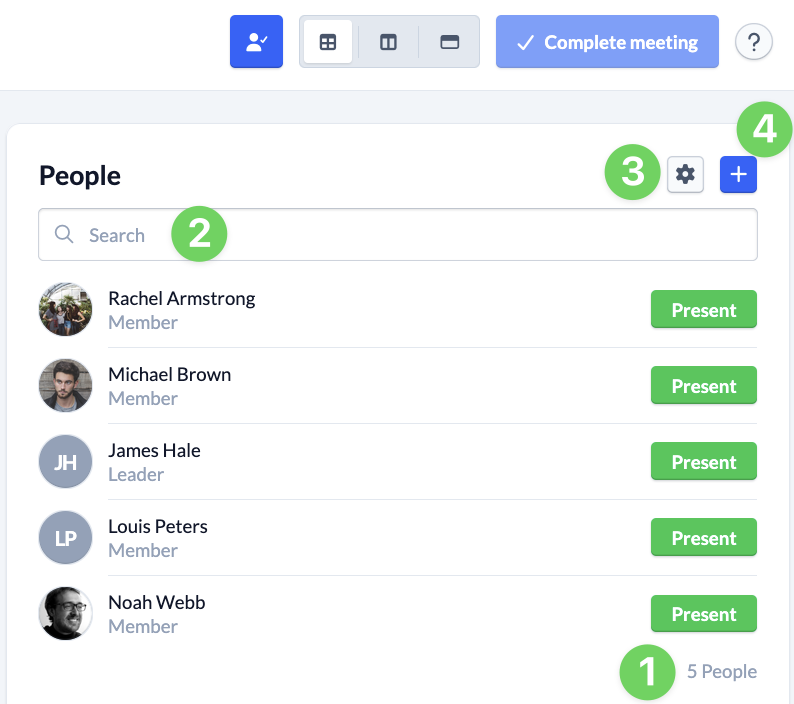
By default, the list of people shows you all the people who have been filtered based on your selections for the “Meetings ” and ” Groups ” columns. However, it also offers additional features that allow you to customize the display to suit your needs.
At the bottom of the list, you’ll always see the total number of people displayed (1)—it stays visible even as you scroll down.
You can use the search box (2) to search for a specific person.
In the gear menu (3), you’ll find two useful options:
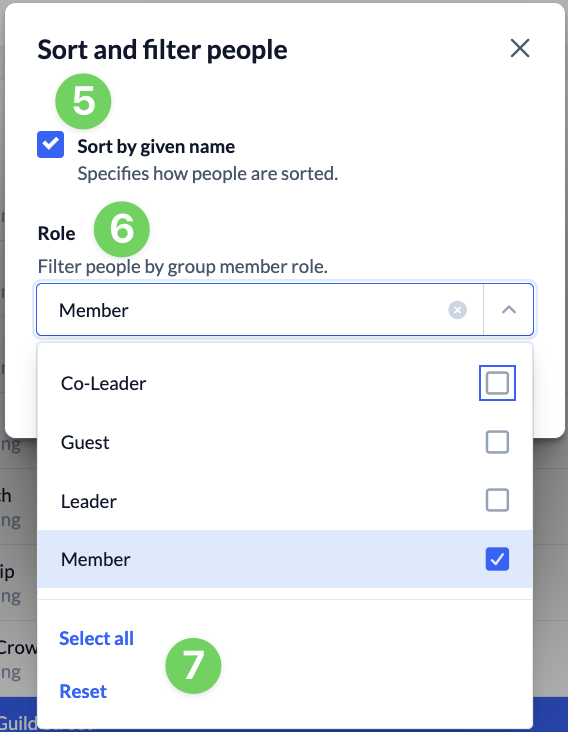
- Using the ” Sort by First Name ” drop-down box (5), you can choose whether the list is sorted alphabetically by first name or last name.
- The “Filter by Role ” option (6) is available when you have selected one or more groups. This allows you to narrow the display to specific roles—for example, to show only the participants of a recreational activity, without including leaders or staff members. The “Select All” and “Reset” options below the list provide additional support.
Using the plus icon (4) “Add New Person,” you can either add an existing person to a group or create a new person. For more details, see the help page “How to create a new person using the Check-in module?”