

1. Create a new booking request #
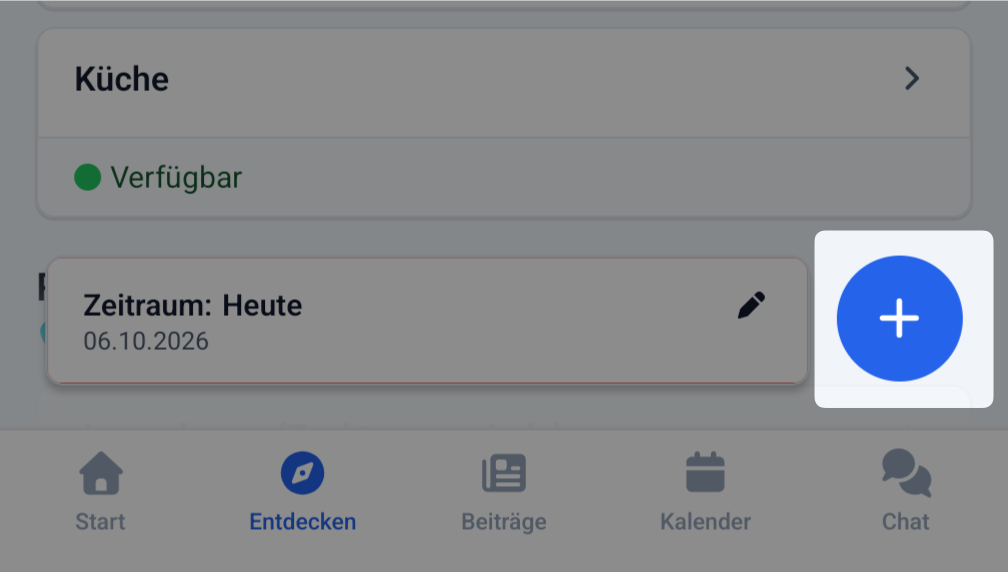
Go to ” Resources ” via the ” Discover” tab, and then click the blue plus icon in the lower-right corner to create a new booking request.
2. Select a resource and time period #
Next, select one or more resources (1) in the list, set the time period (2) for your request, and tip on the button Select Resource button (3).
Check whether the resource is or is already booked for a transaction (4), you’ll see right below the resource.
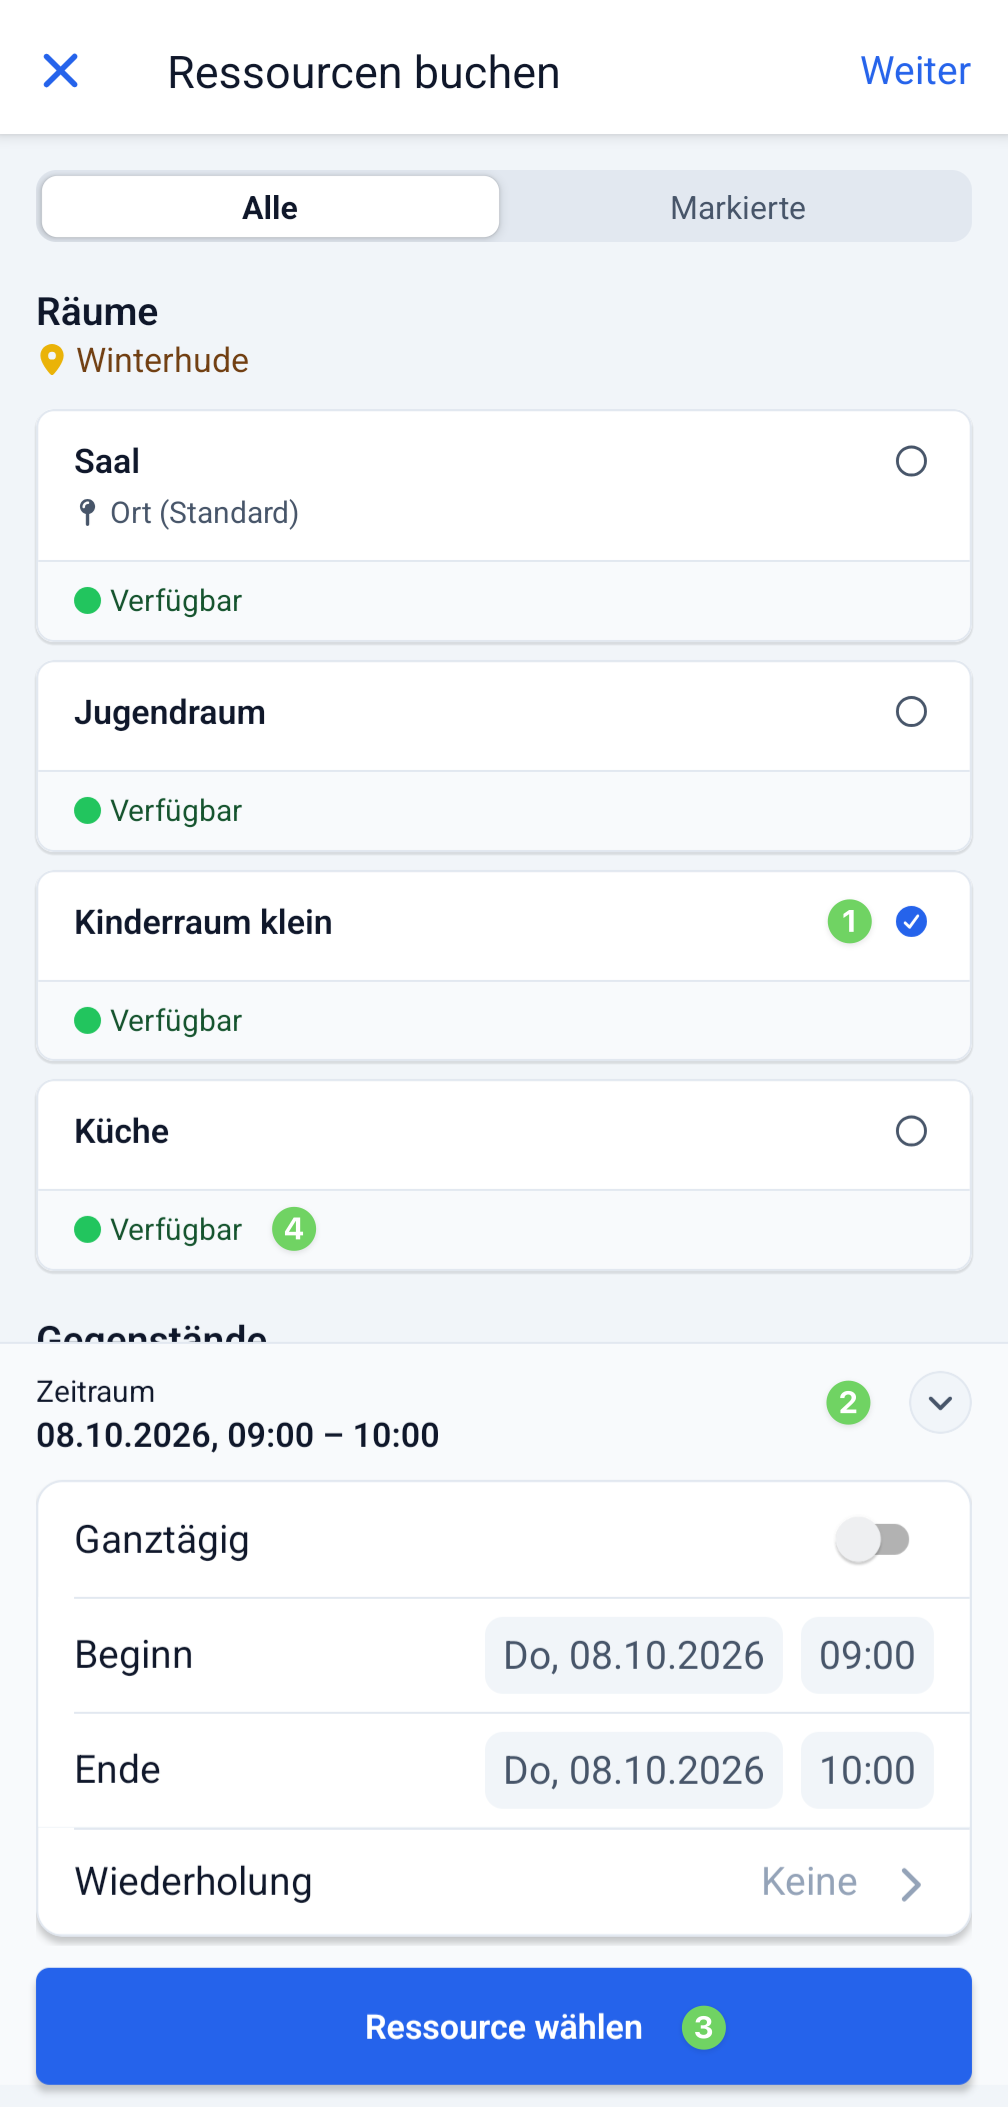
On the next screen, you can review your request, edit your settings, and select additional resources.
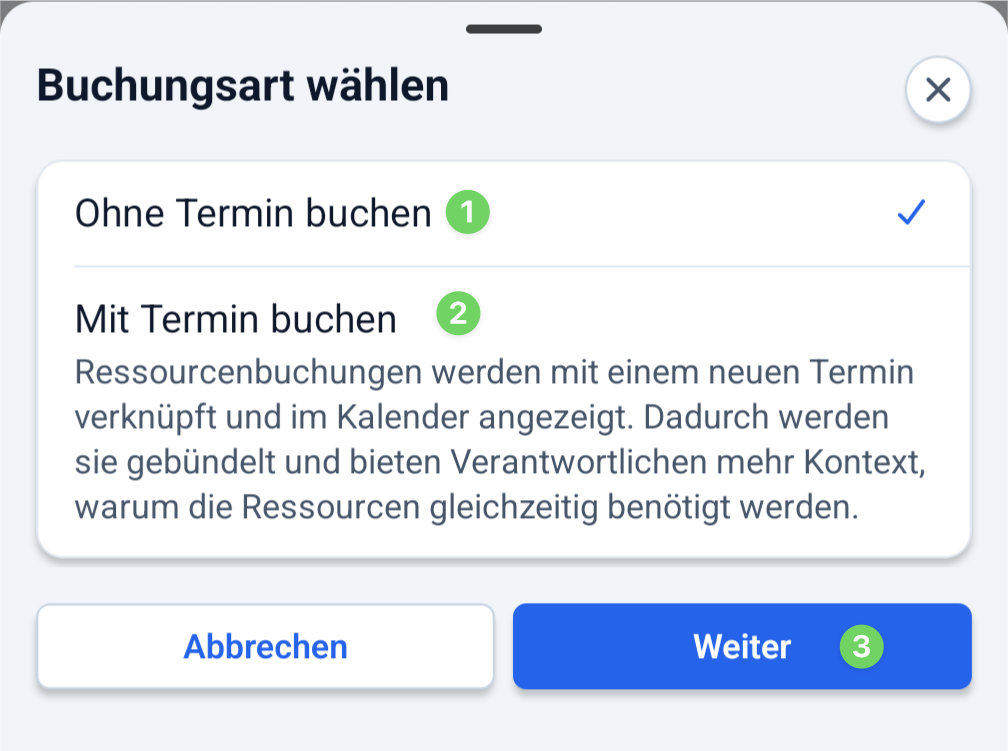
You can continue with your booking request with or without a calendar date. Tap the button Continuebutton to select your preference in the next step.
4. Select a booking type #
4.1 Perform a transaction on a resource without a calendar appointment #
If your booking doesn’t require a calendar appointment, it will only appear in the resources and not on the calendar. Tap a tip. Next (3), you can enter the details of your request.
In this case, skip ahead to 5. Enter booking details.
4.2 Transaction for a Resource with a Calendar Appointment #
For some resources, a calendar appointment is required to make a booking. In this case—or if it makes sense to you to have an appointment entered in the calendar as well—select this option and tap Next (3).
On the screen below, enter the necessary information to create a calendar event right away. As soon as you create it, your booking request for the resource(s) is created at the same time.
For instructions on how to create a calendar appointment with a resource reservation, see the article ” How do I create an appointment with a resource reservation?”
5. Enter booking details #
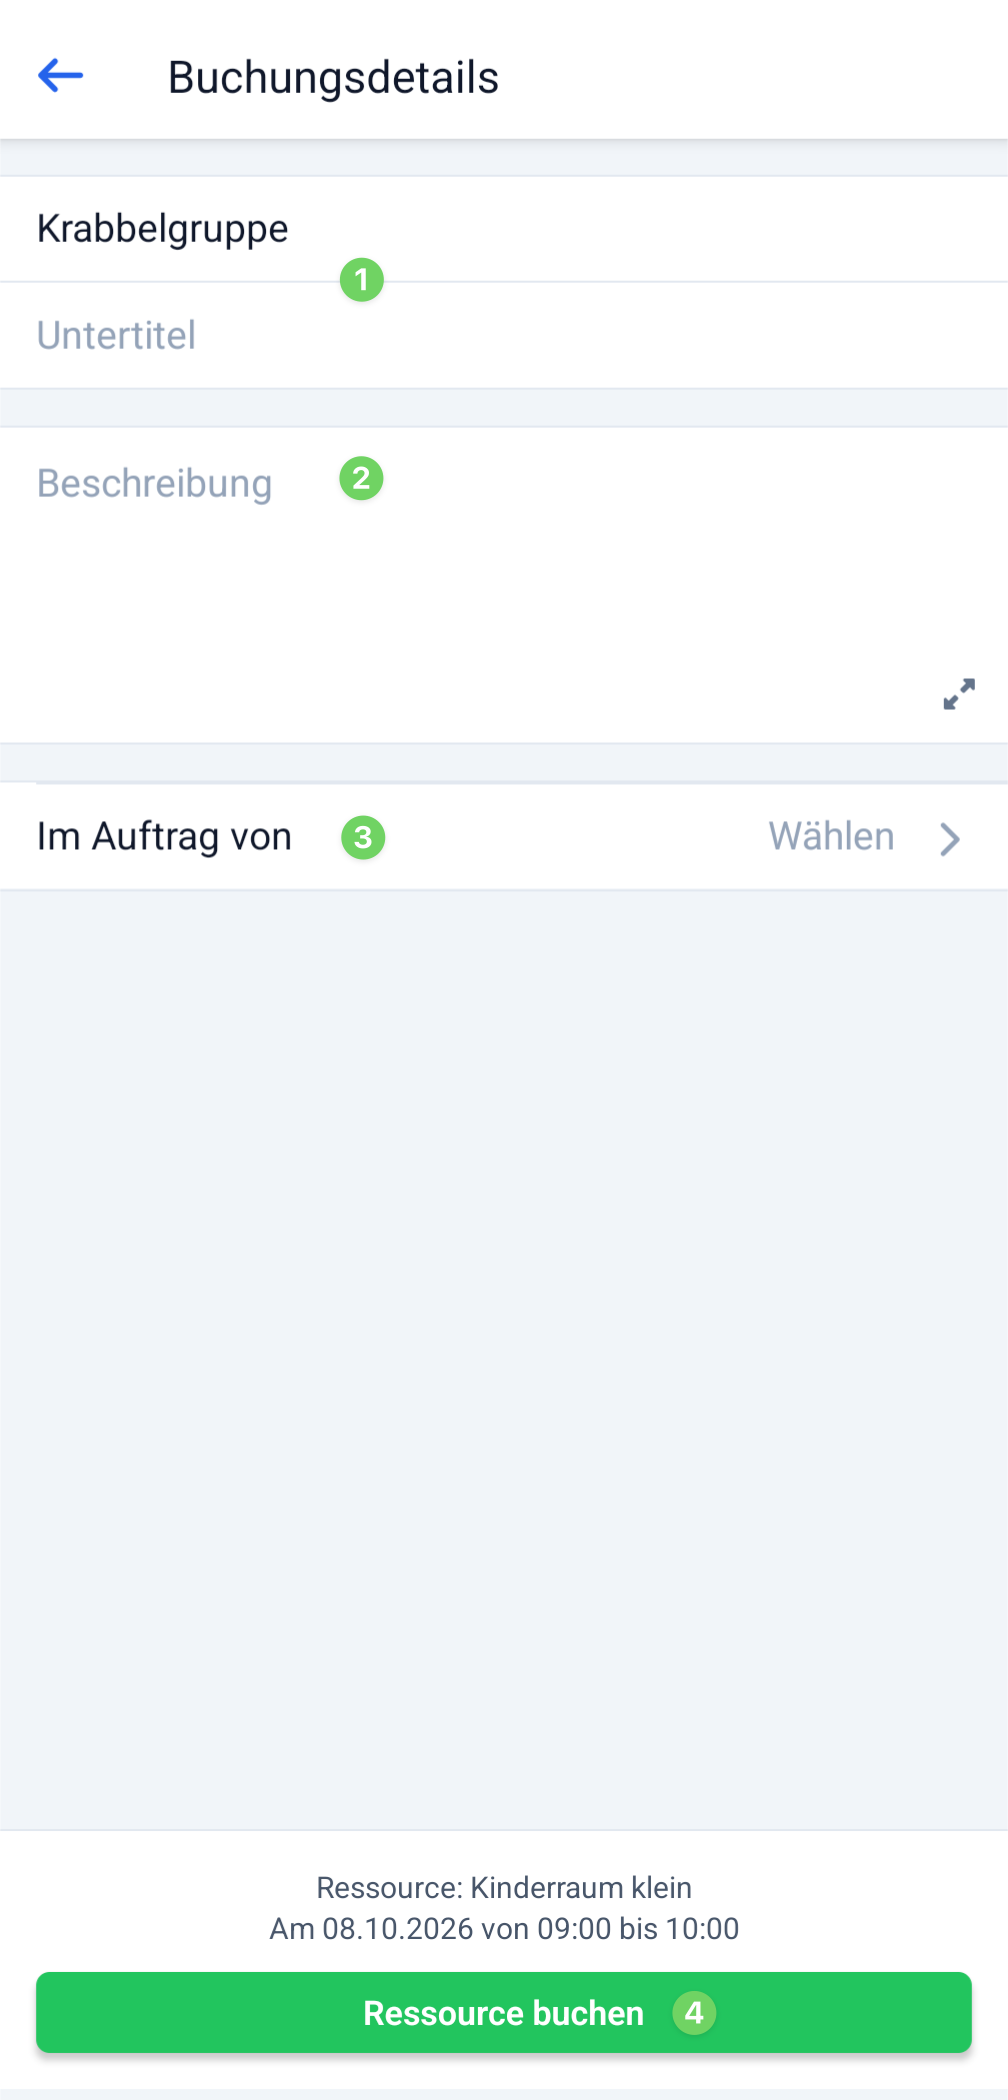
If you selected the “No Appointment” booking type, enter the title (1) of your request, along with a subtitle (1) and a description (2).
If you are requesting the resource on behalf of someone else, please include “On behalf of” (3) to select that person.
Finally, give a tip Perform a transaction to book Resource (4) to request the resource.
6. Booking Summary #
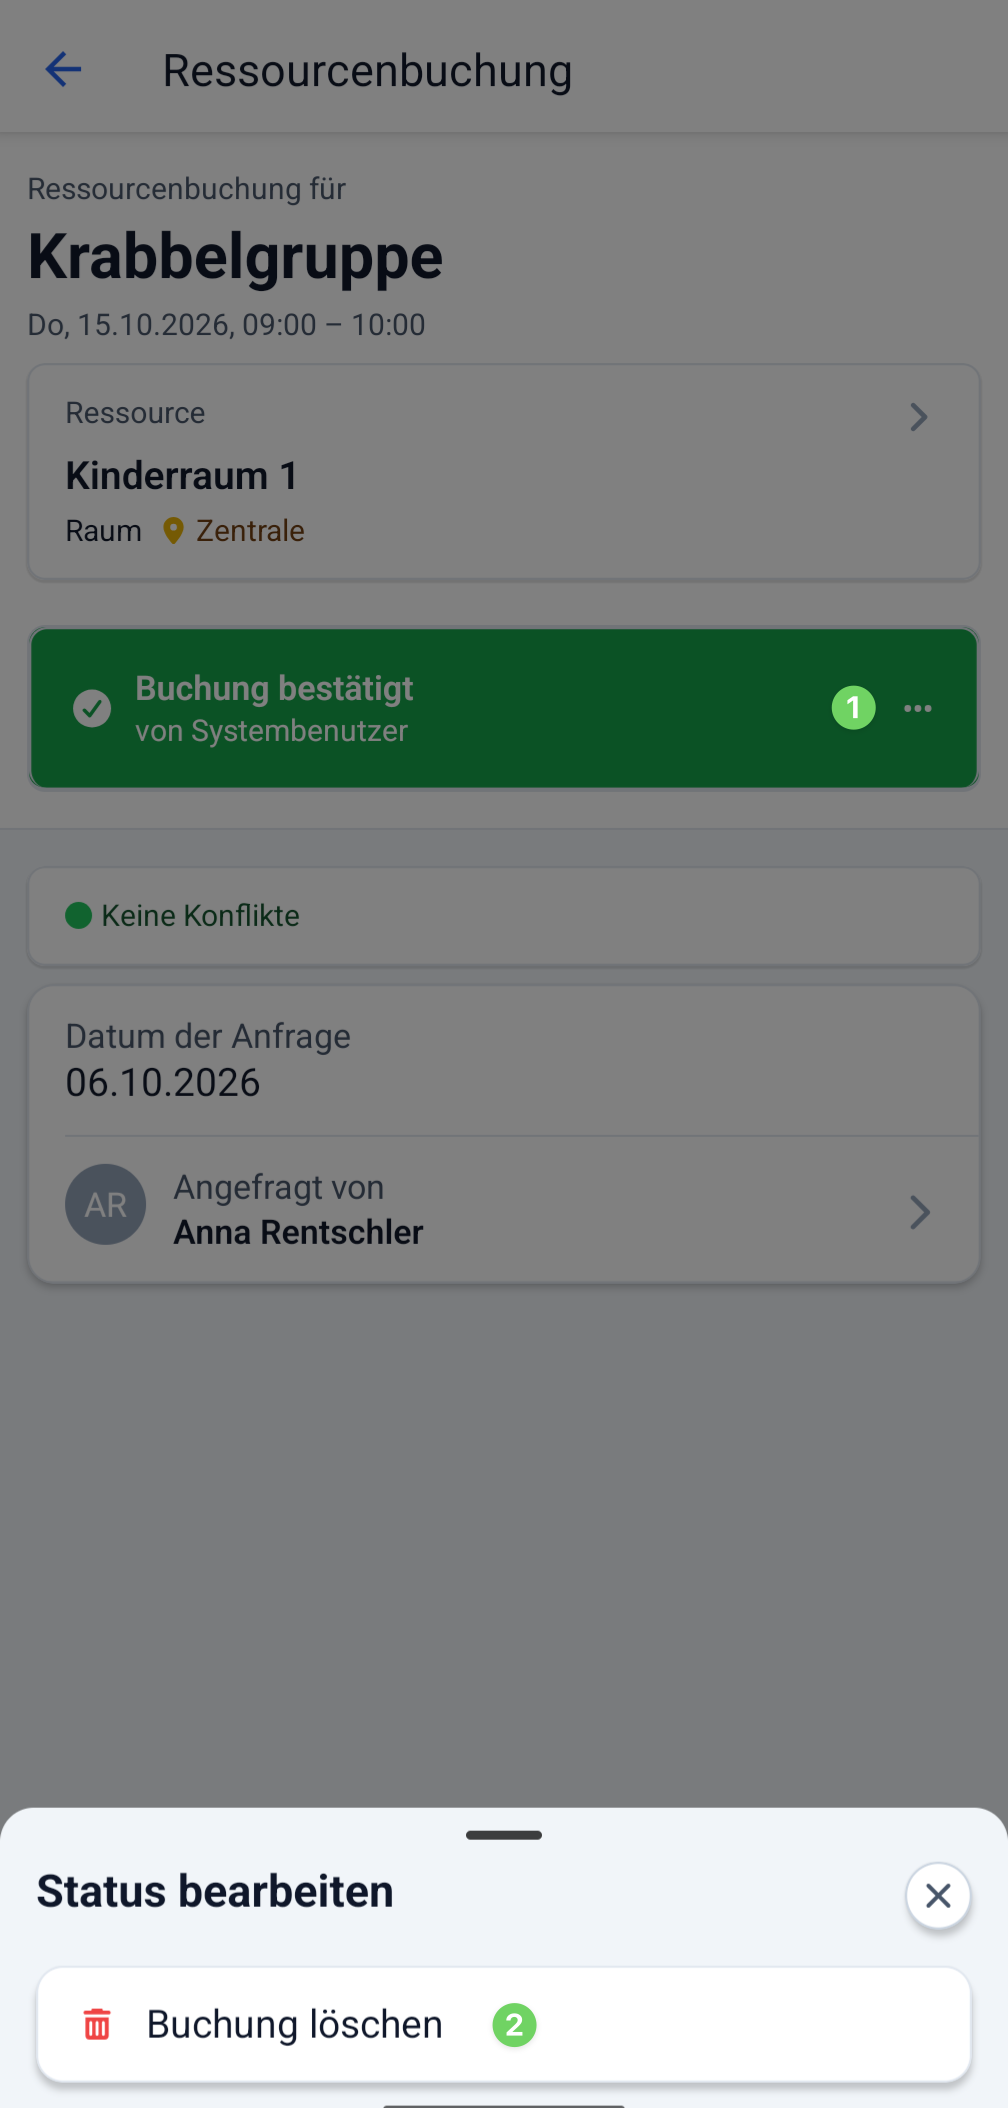
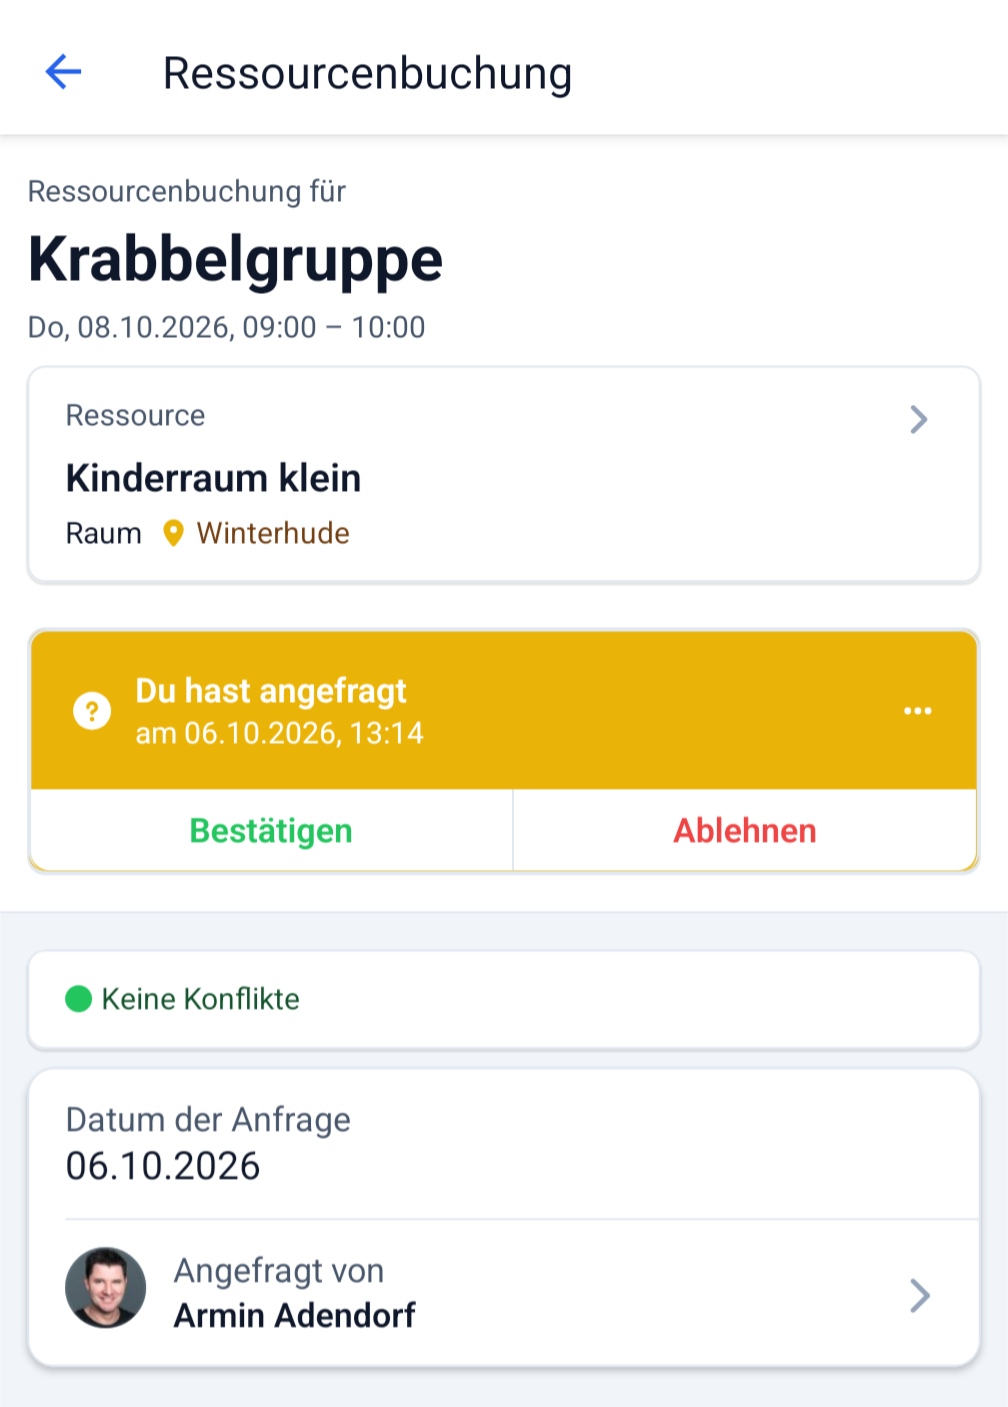
If you then view your booking via the resource list or “My Bookings,” you’ll see all the details of your request as well as the status of your resource booking. If the status is ” Requested,” a resource manager is reviewing your request, and you’ll be notified as soon as it’s been confirmed or denied.
For an explanation of the statuses of a resource reservation, see the article What does the status of a resource reservation indicate?
Delete Your Own Booking Request #
If you don’t need the resource after all, open your booking in the booking schedule and delete (2) it via the context menu (1) in the status display.