
You can make individual settings for your group chats for each of your groups. You first decide whether there should be a chat for your group at all and which people can read the chat and who can write messages. ChurchTools also helps you to get all your group members into the chat as quickly as possible.
1. Call up group #
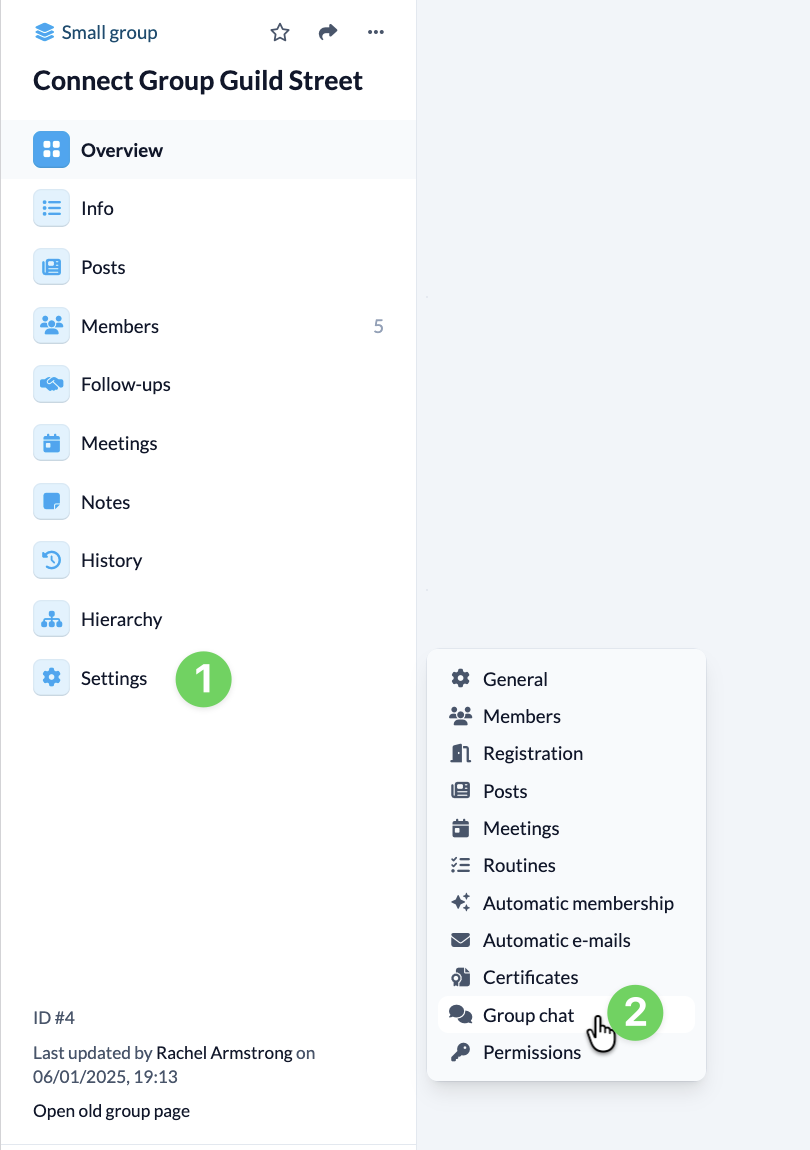
In the module Groups, find your group and call it up.
2. Open settings for group chats #
In the menu on the left-hand side, select Settings (1) Group chat (2).
3. Activate/deactivate chat #
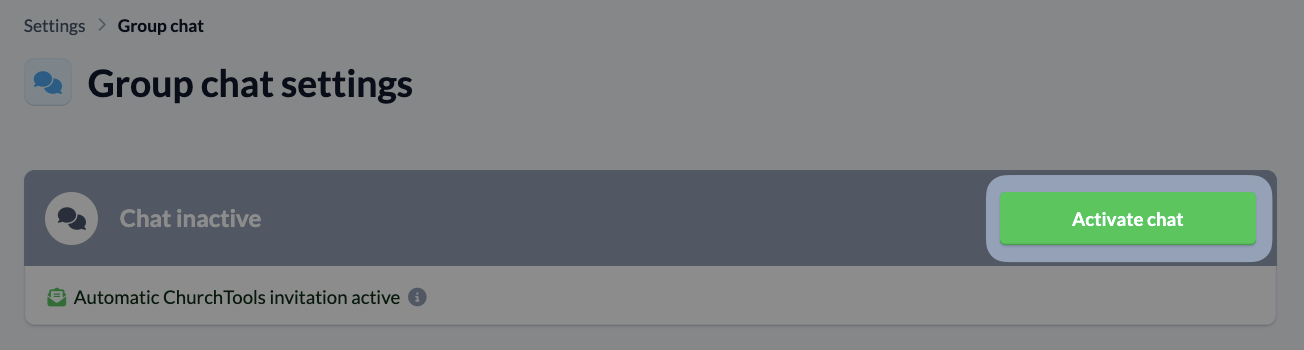
Here you first have the option to activate or deactivate the chat for your group.
If it is already active, your group members who have never logged in to ChurchTools will be invited automatically.
4. Participation in group chat #
Depending on the Role of the group member, you determine the participation in your group chat. To do this, activate the sliders at the end of the Role line for reading or writing.

5. Conditions for participation #
In order to communicate well with each other, every group member should have access to the shared chat as soon as possible, otherwise information will not reach them and agreements will be made more difficult. Here you can see clearly for each group member what is still preventing them from participating in the shared chat. This way, you can react quickly at the next meeting and help the person to participate in the group chat.
