
To sync booking data from Optigem to ChurchTools, you may need to create your cost centers in ChurchTools first. To do this, export your projects from Optigem, edit the data, and then import them as cost centers in ChurchTools. In this tutorial, we’ll walk you through the process step by step.
1. Create groups in ChurchTools #
The Finance module lets you link groups to cost centers for budget planning. In the Groups module, you create the groups that you want to link to cost centers. If the groups already exist, you don’t need to create them again, of course.
2. Export your projects from Optigem as an Excel file #
To do this in Optigem, follow these steps:
Open the projects and go to the Data Sheet in the View tab.
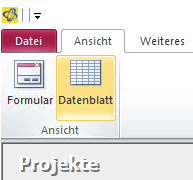
Next, switch to the ” More ” tab and click on ” Excel.”

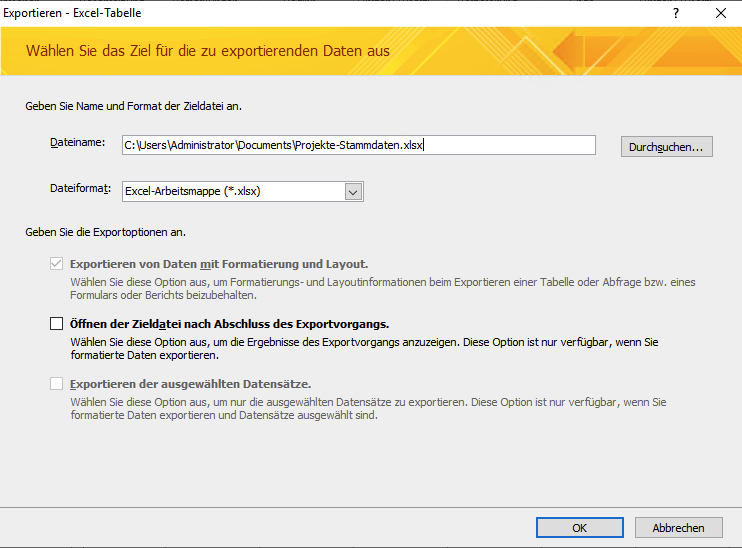
Then save the export under the name of your choice. You don’t need to save the export steps.
3. Prepare to Import Cost Centers into ChurchTools #
3.1 Fill in the ChurchTools-Optigem Cost Center Import Template with Your Data #
Download the cost center import template.
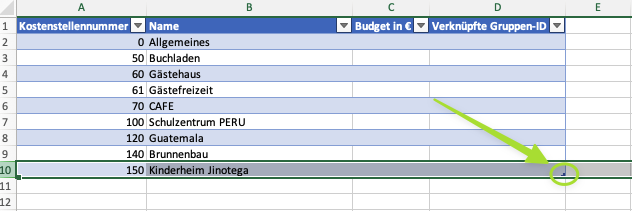
Copy all the rows from your export file and paste them into the ” Projects from Optigem ” tab in the import template. Be sure to overwrite all the sample data. The template is designed so that the numbers and names of your projects are automatically transferred to the ” Cost Center Import ” tab in ChurchTools.
Finally, in the “Cost Center Import ” tab in ChurchTools, select the last visible row and use the small triangle to scroll the table down until all your cost centers are visible.
3.2 Optional: Enter a budget #
In the ” Budget in € ” field, enter the budget for the respective cost center.
3.3 Optional: Enter the IDs of associated groups #
In this step, you enter the IDs of the groups you want to link to the cost center. Of course, you can also enter the IDs after the import is complete.
3.4 Save Document #
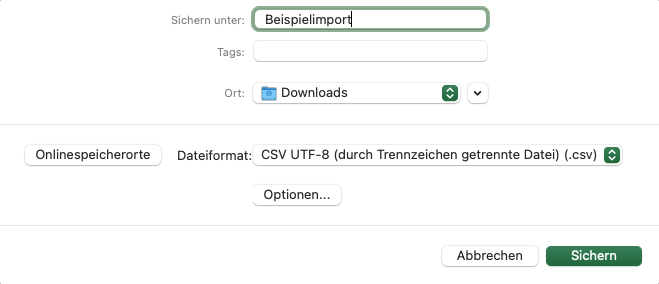
Once you have correctly edited all the data, make sure the “ChurchTools Cost Center Import ” tab is currently selected. Save your edited cost center import via File > Save As… in CSV UTF-8 (comma-separated values) .csv format.
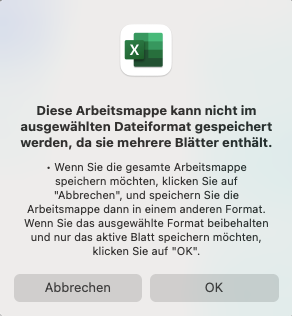
Since the cost center import template contains multiple tabs, you’ll be asked if you want to save only the active tab. Confirm this prompt.
4. Import Cost Centers into ChurchTools #
In the Finances module, open the master data, navigate to the cost centers, and open the context menu for the cost centers.
Here, select ” Import Cost Centers from CSV File.”
We’ll show you exactly how to do this in our guide, ” How do I import cost centers from a file?“