

Are you thinking about trying out the ChurchTools Website? Here are a few good reasons why that’s a really great idea:
During the trial period, you can try out all the features and publish your content. Your website link is publicly available, so others can also view the website using this link.
1. Start a free trial period #
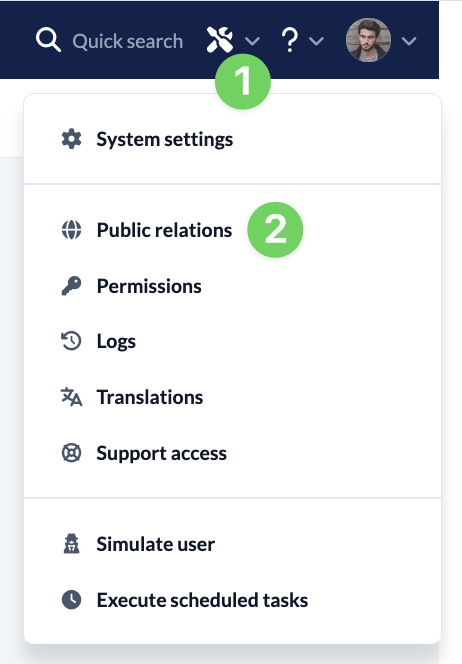
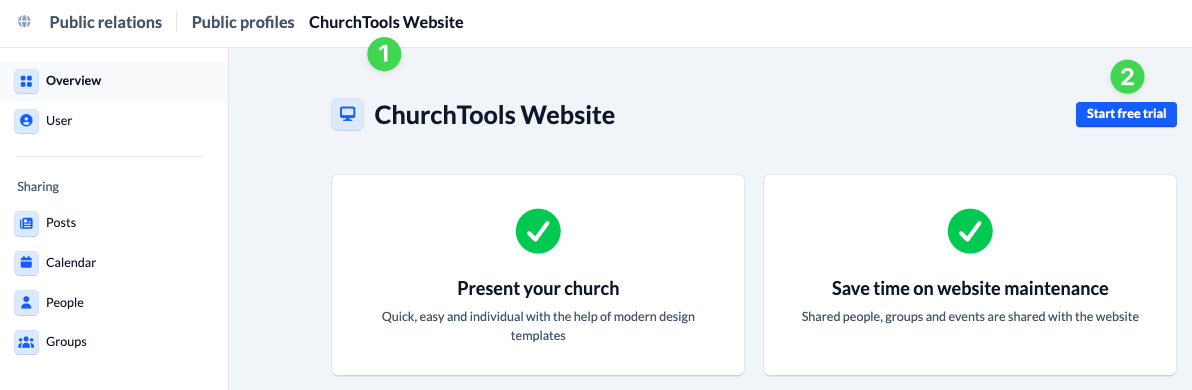
In ChurchTools, open the “Manage” menu (1) and navigate to ” Public Relations ” (2). Under “ChurchTools Website ” (3), start the free trial period (4) for your congregation’s website.
2. Grant permissions #
With the ChurchTools Website, you can automatically import public posts, calendar events, and information about individuals or groups from ChurchTools into your website.
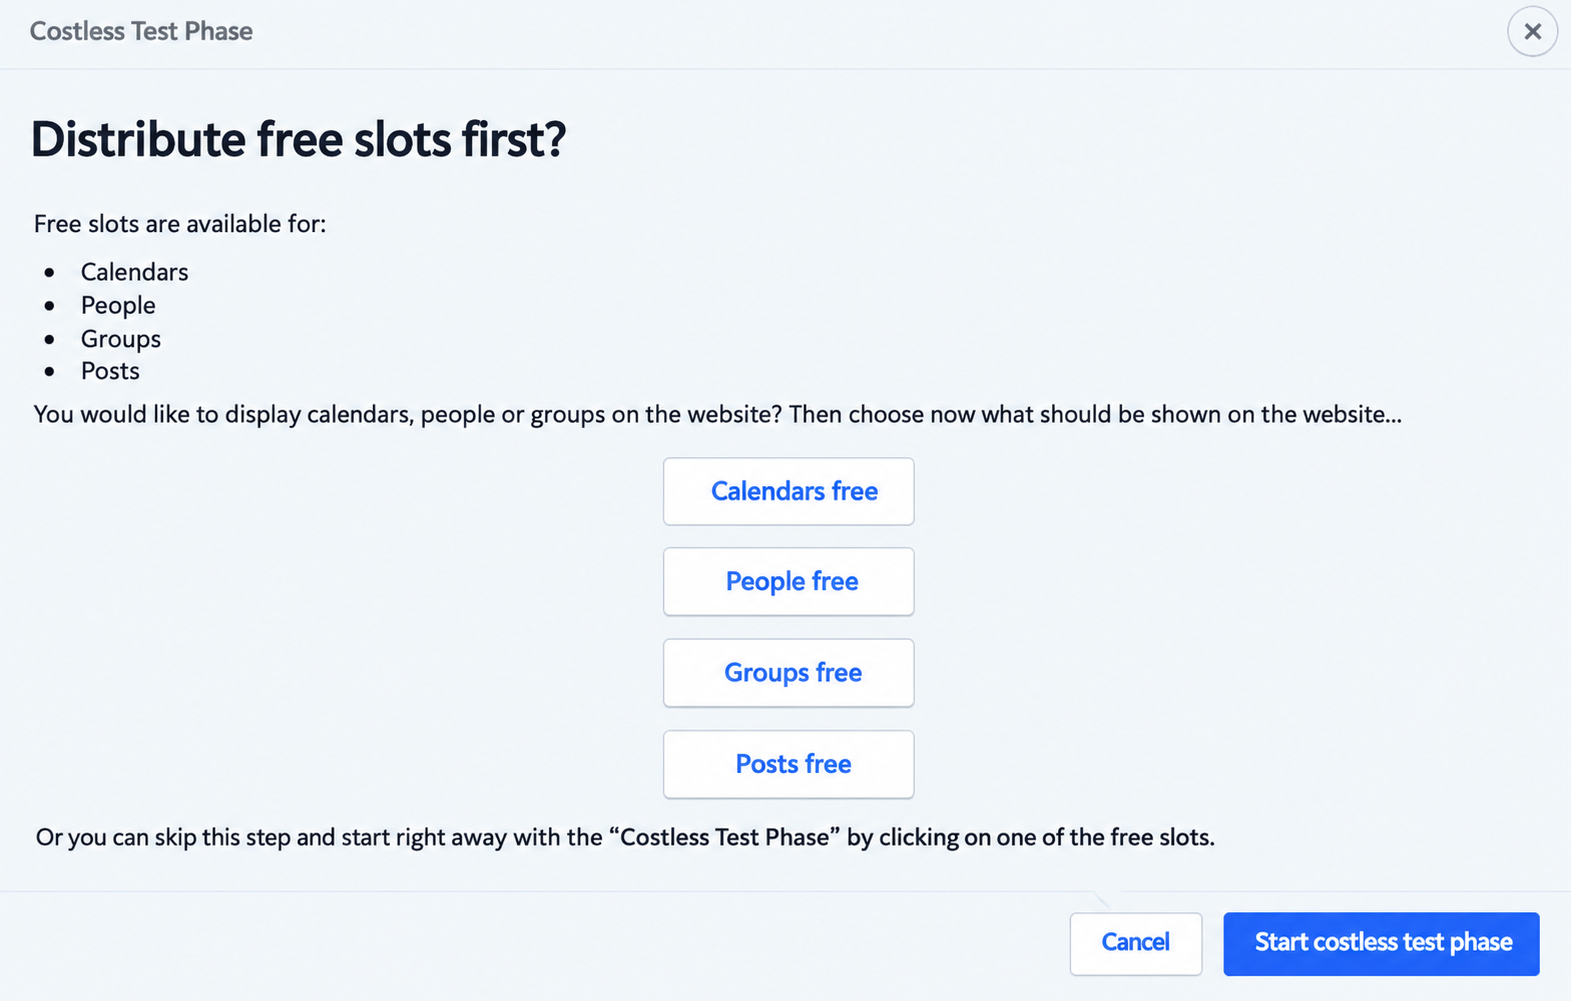
After clicking ” Start Free Trial Period” select the posts, calendars, and people for whom you want to grant access. Public groups are automatically accessible. We explain exactly how to do this in the article “How to manage access permissions for the ChurchTools Website?”
Once you’ve granted all the permissions you want to grant, click ” Start Free Trial Period” again.
Once you’ve started the trial period in ChurchTools, your website will be set up for you.
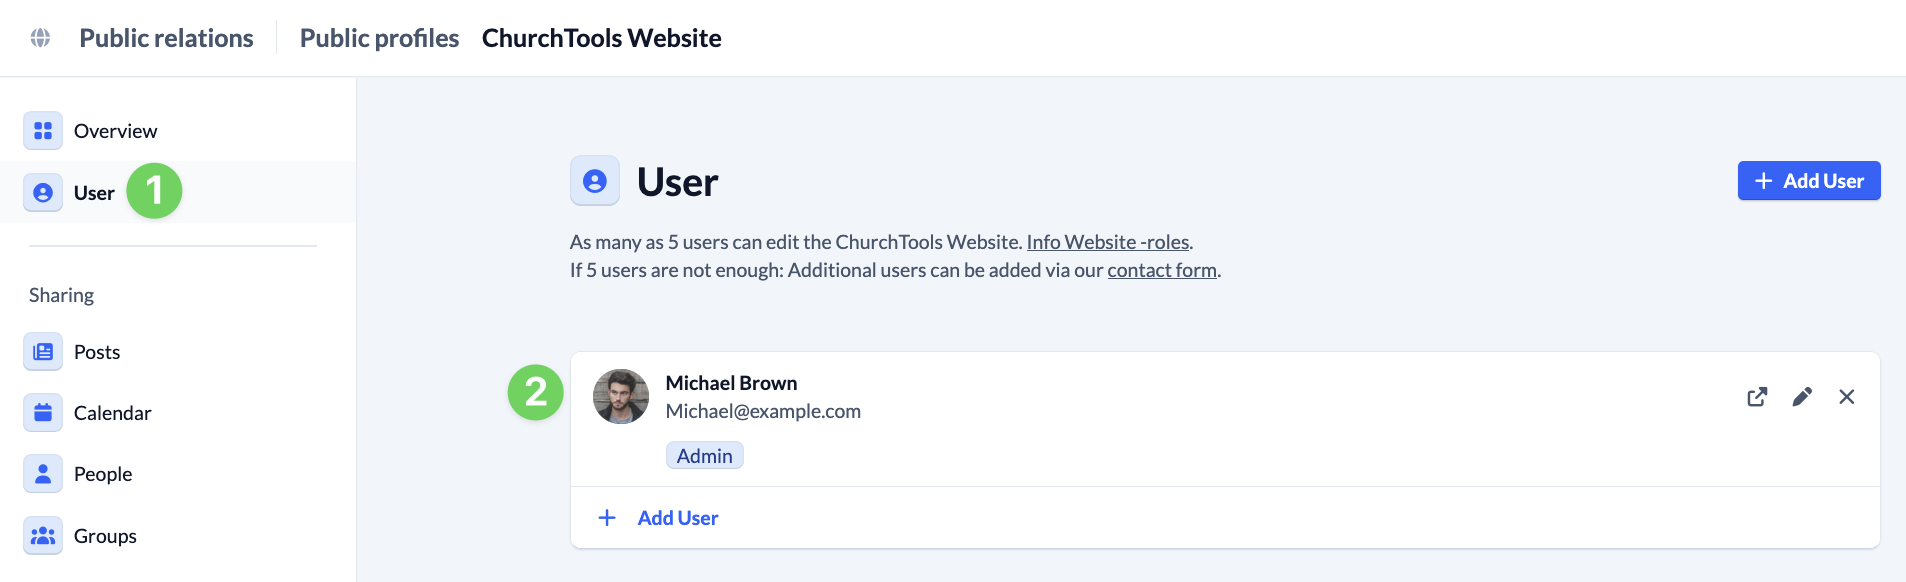
Under “Users ” (1), your ChurchTools account (2) is now listed as a user with the Role of ” Administrator” for the ChurchTools Website.
3. Configure the website #
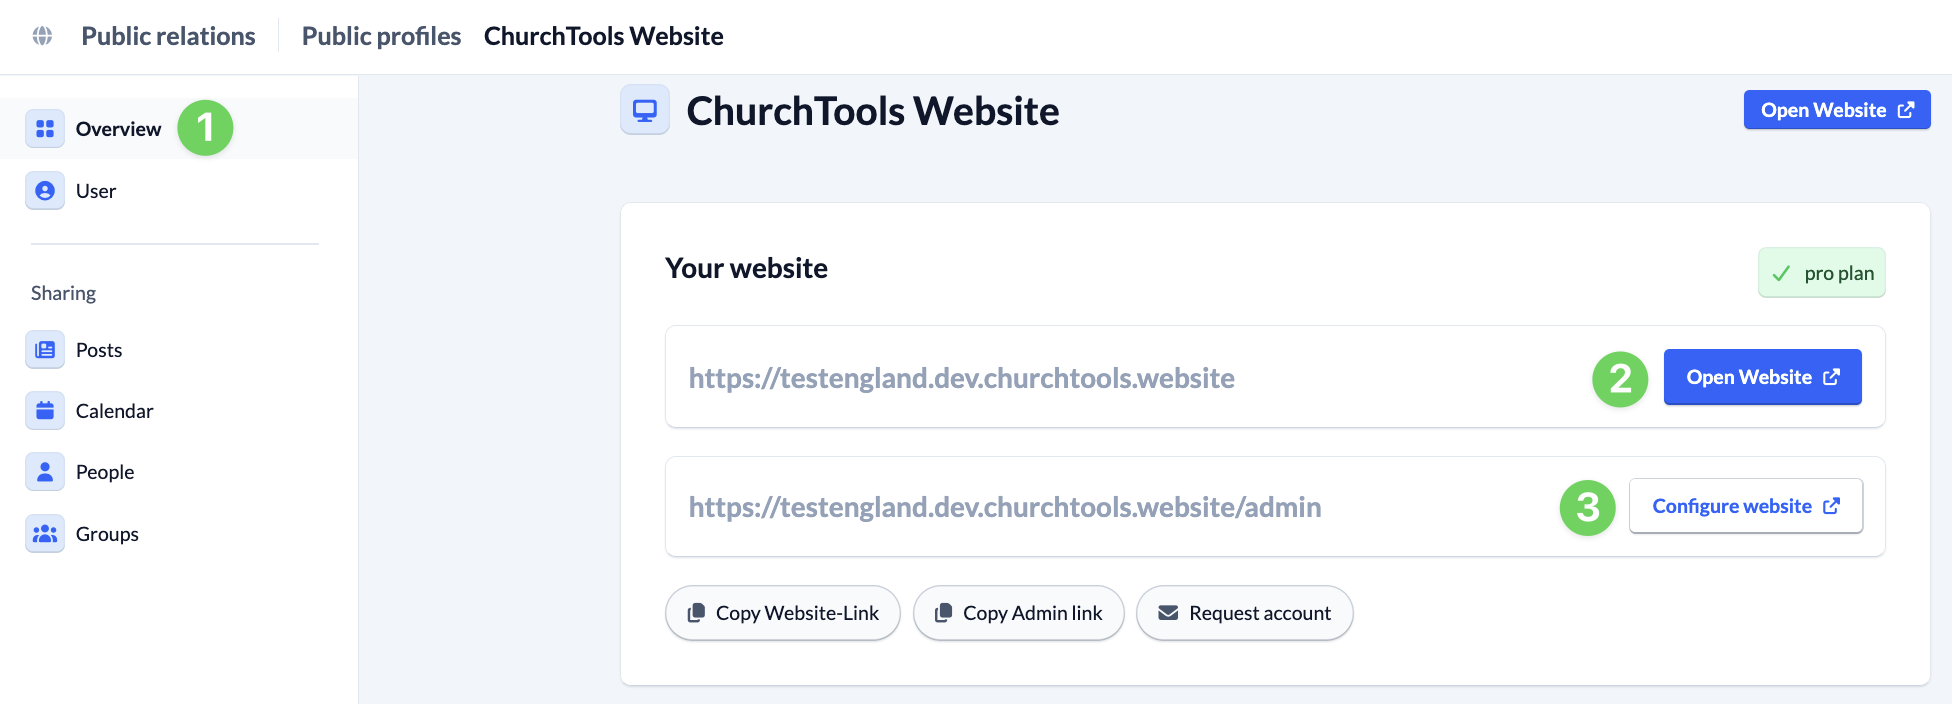
Under ” Overview ” (1), you can now open your website (2).
Here you’ll also find the link to your website’s admin area (3), where you can configure the website for your congregation. You’ll automatically be signed up here using your ChurchTools credentials.