

When you import data from ChurchTools, tags are also imported, which you can use to design your website and provide filters for your visitors.
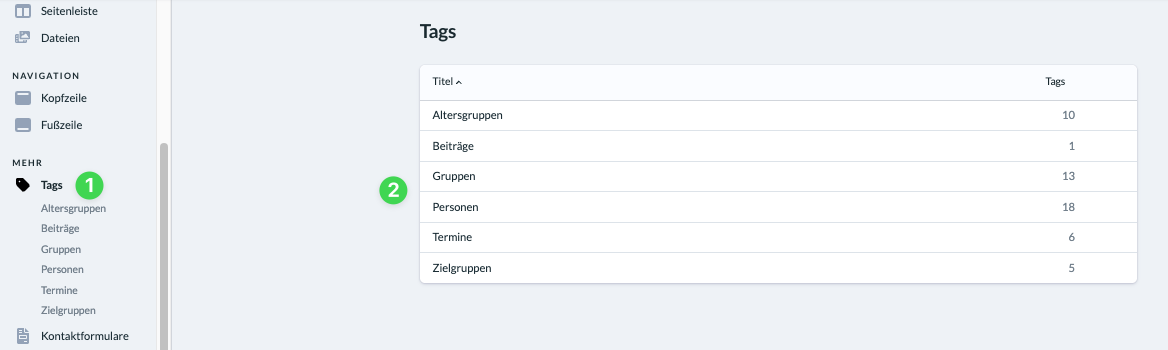
If you need additional tags to make your website even better, access the tags (1) in the admin area via the menu on the left. Here, select the section (2) for which you need the new tag.
Click the blue ” Create Tag ” button in the upper-right corner to open the dialog box.

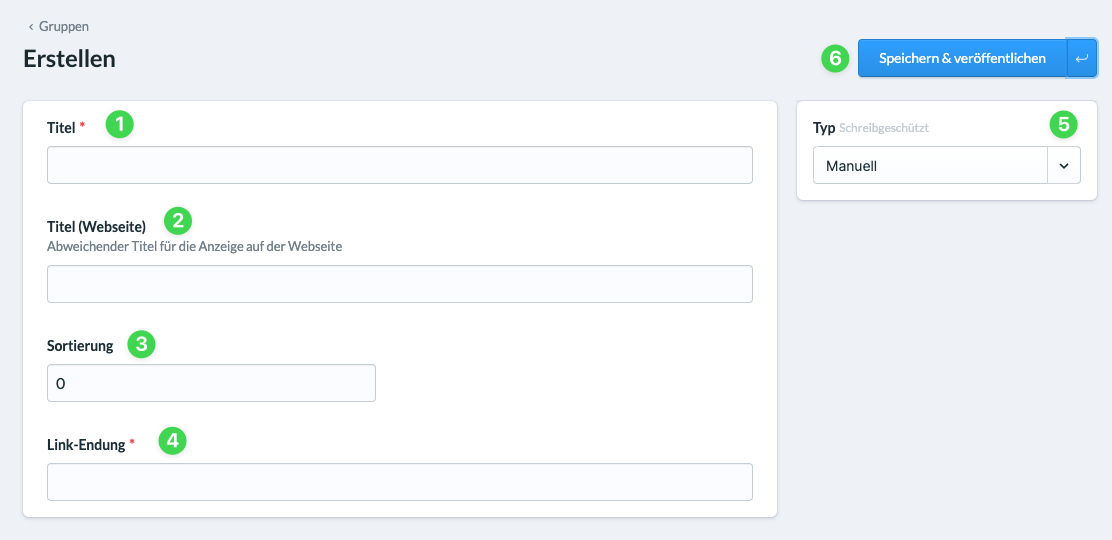
Enter the title (1) of your tag here.
If you want the tag to be displayed differently in the drop-down lists on your web pages, enter an alternative title for the web page (2) here.
The sort order (3) determines the position in a selection list.
The link suffix (4) is automatically generated from the title. However, you can customize it if you’d like.
The type (5) of your tag is always “manual” because it was not imported from ChurchTools.
You create and publish your new tag by clicking ” Save” (6).