

You can easily customize any images you’ve uploaded to your ChurchTools Website so that they blend in better with the rest of your site.
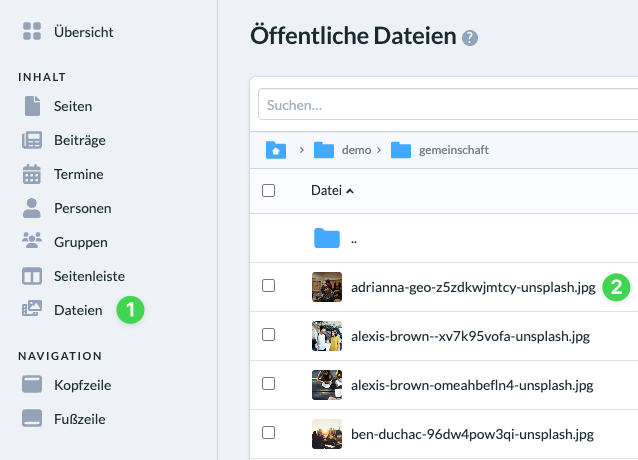
To do this, go to the ” Files ” section (1) via the menu on the left side of the admin area and click on the image (2) that you want to edit. This will open the image’s detail view.
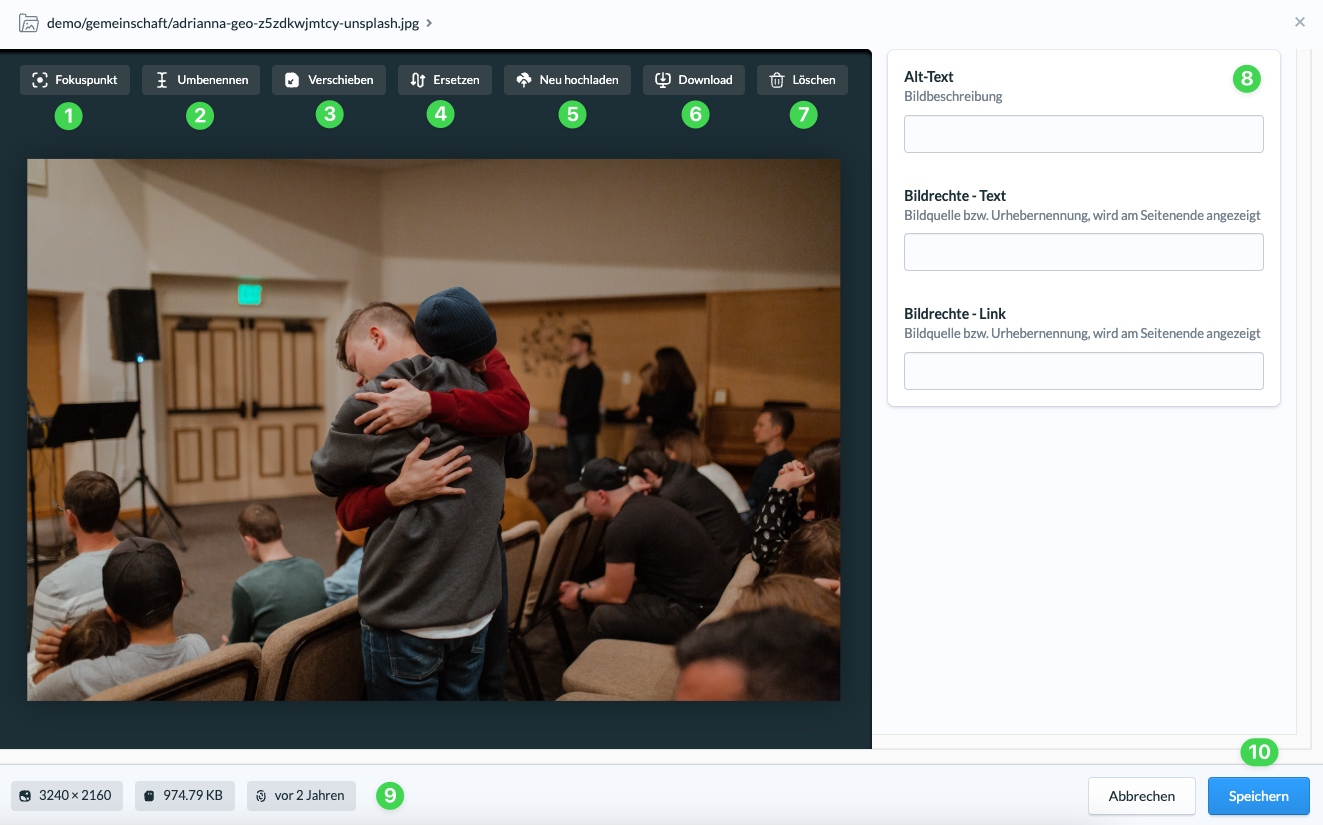
In the detailed view, you’ll see the tools available for editing the image above the image itself:
- Resetthe focus point (1)
- Renaming File Names (2)
- Move to another folder (3)
- replace (4)
- Upload again (5)
- Download (6)
- Delete from the website (7)
To the right of the image, you can enter an image description and specify image rights (8).
Below the image, you’ll see the image size and the upload date (9). In the lower-right corner, you’ll find the button to save your changes (10).