


When you create a page in the wiki or write a new post , you’ll be using our text editor. Depending on whether you’re using the ChurchTools website or the app, the editor offers a customized set of features. Here, we’ll explain how to insert elements such as tables, images, or divider lines into your text.
Inserting and Editing Tables #
Click the table icon or enter the / and select Table . By default, the editor inserts a table with three columns and three rows. The first row is set as the header row. A table always spans the entire width of the page.
When you hover your mouse over the last column or row in the preview, sidebars with a plus sign will appear. By clicking the plus sign, you can quickly and easily create a new column or row.

If, on the other hand, you hover over the first row or column, a gray bar with three dots will appear. You can drag the bar with your mouse to easily move the column or row.
If you click on the bar, the column or row menu will open. Here, you can delete or add columns and rows and adjust the alignment of columns.
In the app, simply tip your finger on a cell to open the spreadsheet menu, which lets you edit it further.
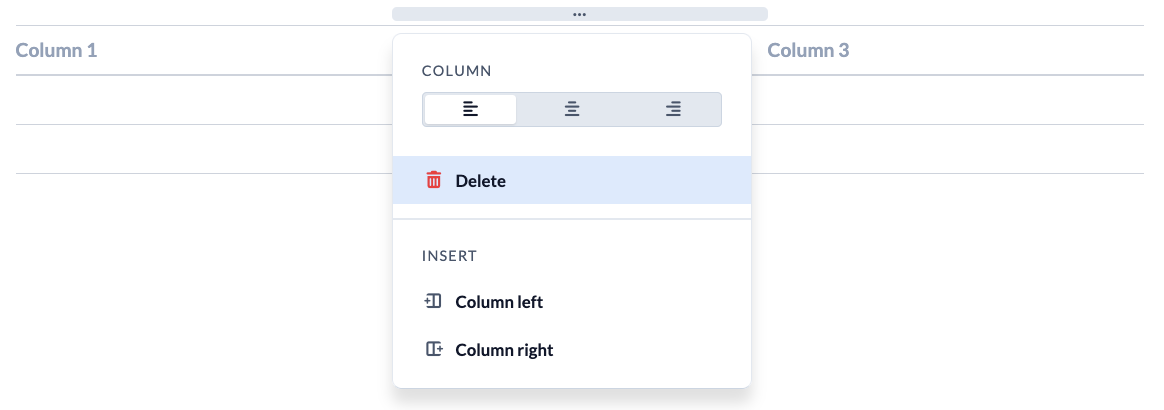
By the way, you can use the Tab key to quickly move from cell to cell. Pressing Shift+Tab moves you back one cell. If you press Tab in the rightmost cell of the last row, you’ll immediately jump to the first cell of a new row.
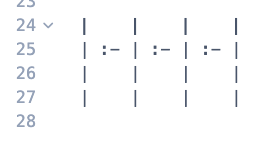
You can also use the following characters in the source code to create or edit a table. The second line with the :- is very important; without it, the characters will not be recognized as a table.
Insert Image #
Click the image icon or enter the / and select Image . You can then upload an image.
You can also simply insert images using drag-and-drop.
All image MIME types can be inserted, such as GIF, JPEG/JPG, PNG, SVG, and WebP.
If you want to change the display size of the image, switch to the source code view. There, instead of the image, you should find a line of text that looks something like this:

You can use the parameters after the question mark to set various properties for the image output. If you want to change the display size of the image, adjust the number in the w=940 parameter accordingly.
Insert a divider line #
You can use a divider to visually separate larger sections from one another. To do this, click the divider icon, enter den “/”, and select “Separator Line” . In the source code, you can use three asterisks *** on a single line, without any other characters, to create the line.