
With the info screen function you generate a visual representation of upcoming appointments. To do this, you select appointments from specific calendars for a period of up to 14 days and quickly and easily create an attractive animation for an info screen that updates automatically.
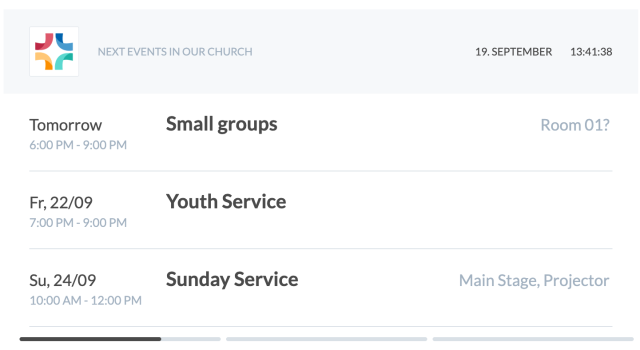
You can open and display the info screen via a web link in the browser on any device. The info screen can be customized and several different info screens can be created.
This opens up various application possibilities, such as an appointment overview for participants of a conference for retrieval on their smartphone or a general overview of upcoming appointments of your church to be displayed in the foyer.
To create the info screen, navigate to the Settings for the info screen in the calendar view:
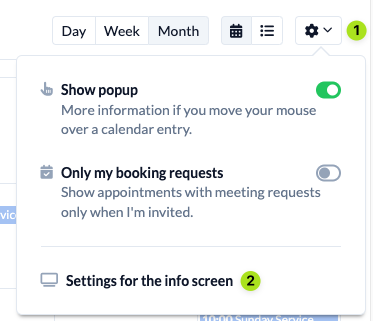
There you will find the different setting options.
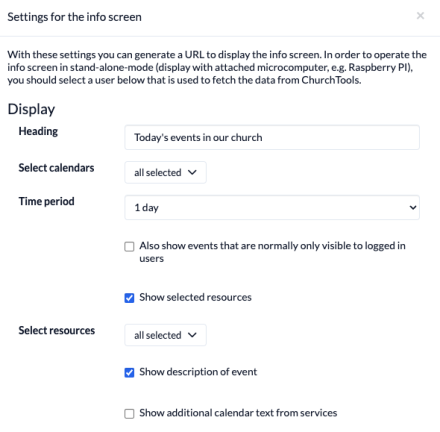
Settings options #
1.Heading #
The headline that should be displayed above the displayed events in the info screen.
2.Calendar selection #
Here you can select from which calendars the appointments should be displayed.
3.Period #
Select the time period from which the events are to be displayed.
4.Resource selection #
Select which resources of the appointment bookings are to be displayed in the info screen.
5.Display add-on of the appointment title (calendar text) from services #
In the Calendar module, it is possible to display an extension from the Events module in addition to the appointment title, e.g. information about who will be preaching on Sunday. Here you can choose whether this extension should be displayed in the info screen.
You can find out here how to set up the title add-on.