The expert view of the booking screen is intended for treasurers or accountants who primarily take care of the finances in the church and need the full range of functions.
Activate expert view The permission for the extended view is granted with the global permission Finance > Create and edit transactions for accounting year and client (edit accounting period).
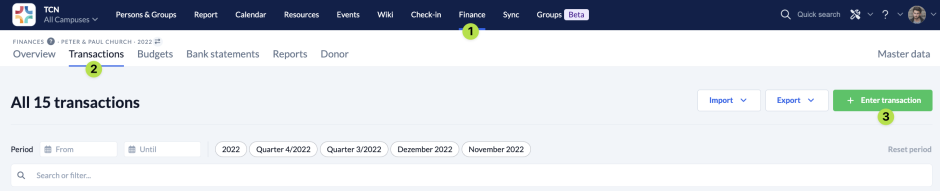
Click on Enter transaction (3) to open the booking screen.
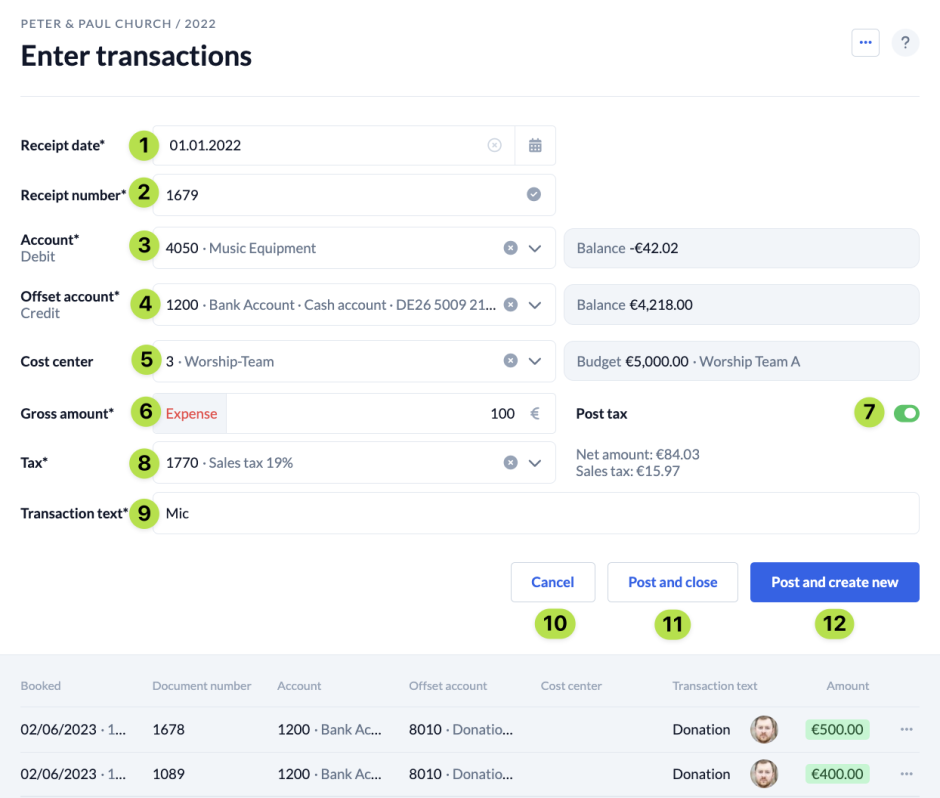
In the booking screen you enter all the information about your transaction. To navigate more quickly between the individual fields, you can jump to the next field by pressing enter.
Donations If you would like to create a booking for a donation, take a look here.
You can choose your receipt number freely and work according to a system that suits you best. The receipt numbers can also be incremented automatically by ChurchTools.
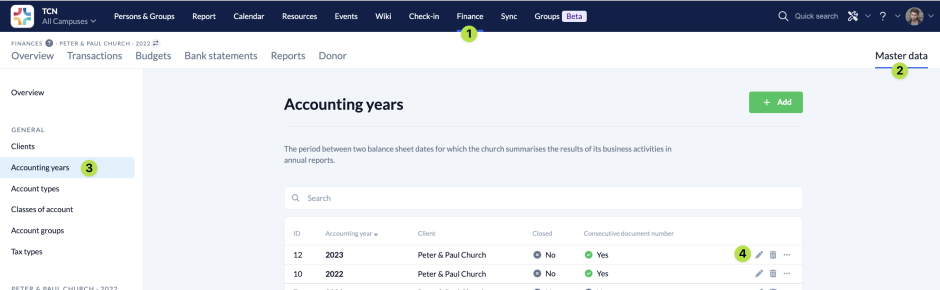
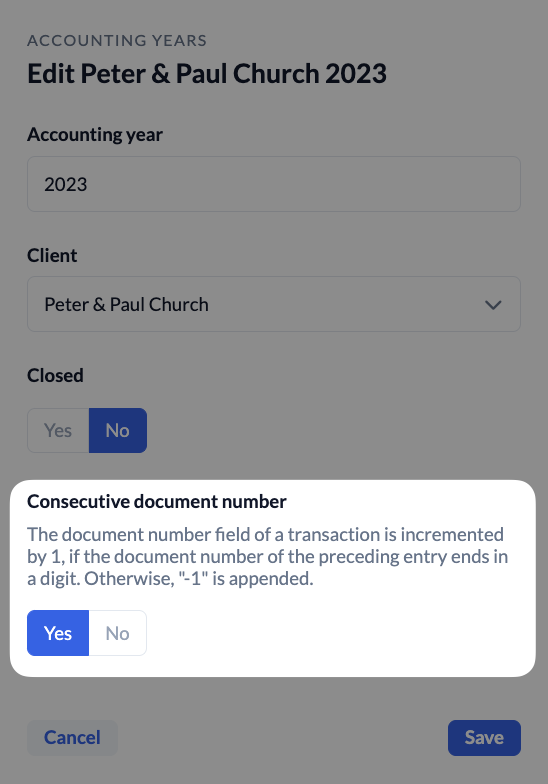
Consecutive document number You can set this function in the Master data (2) by opening (4) the edit menu of the desired accounting year (3) and activating the consecutive document number.
The offset account determines from which account the entry amount is to be deducted.
Balances The current balances are displayed to the right of the accounts so that you always have a quick overview of your accounts and offset accounts.
If you want to further define what a transaction belongs to, you can assign it to a cost center. When you have selected a cost centre, the remaining budget is displayed on the right.
Cost centers and budgets You can create cost centers and budgets in the Master data. Find out how to do this step by step in our articles on adding cost centers and budgets.
Here you enter the amount of your transaction. ChurchTools automatically recognises whether it is a revenue or an expense based on your selected accounts and offset accounts.
You can activate this slider if you want to enter your transaction with the corresponding tax. The description of item 6 changes accordingly to Gross amount.
If you have activated the slider, this field appears and you can select the tax to be entered. ChurchTools will automatically calculate for you, based on the gross amount, the split of your transaction into net amount and tax.
Taxes and Tax types You have to enter the individual taxes in the Master data beforehand. We also have instructions for this in the article on adding taxes.
Two transactions are automatically created for you: a transaction with the net amount and a linked transaction with the tax amount.
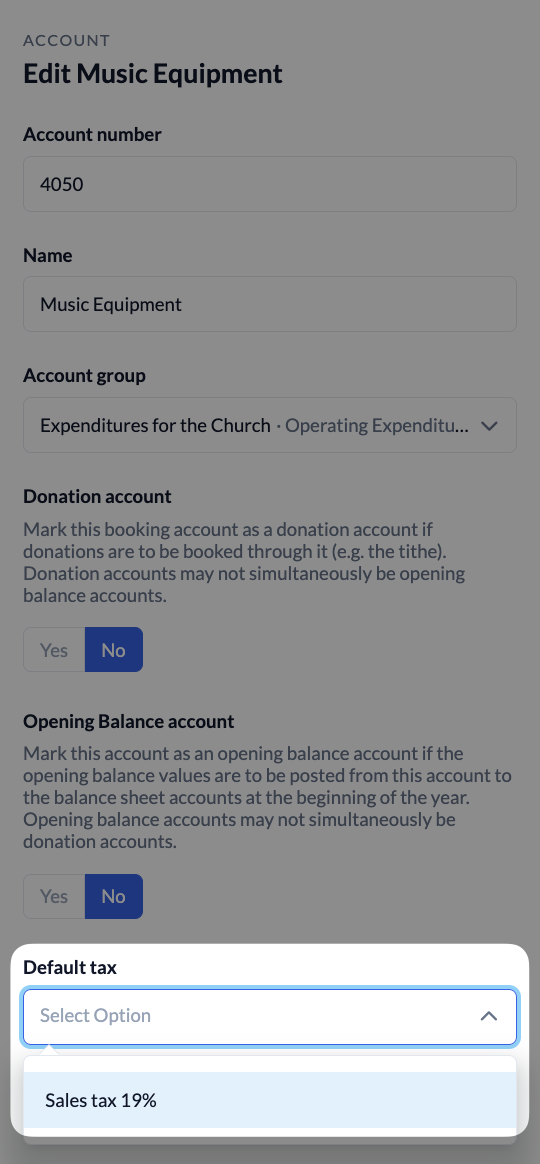
Standard tax rate You have the possibility to define in the Master data whether a standard tax rate should be used for an account. If you activate this option, this standard tax rate is always automatically entered when you enter a transaction on this account.
To activate this function, navigate to Accounts in the Master data, select the account you want to edit and select the tax rate from the menu that should be applied by default to this account.
You can cancel your entry and close the booking screen. Alternatively, you can click on a place outside the window on your screen to close the booking screen.
Alternatively, you can save your transaction and enter a new one. In this case, all fields except for the amount and transaction text remain pre-filled in accordance with your previous transaction so that you can enter similar transactions in succession more quickly.
Below the transaction mask you can see some of your latest transactions. Click on a transaction to open it in the booking screen and quickly edit the transaction information.