1. Open calendar module #

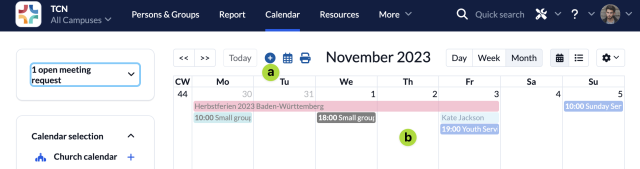
2. Add new date #
You can either click on the + icon (a) or directly on the day (b) in the calendar.
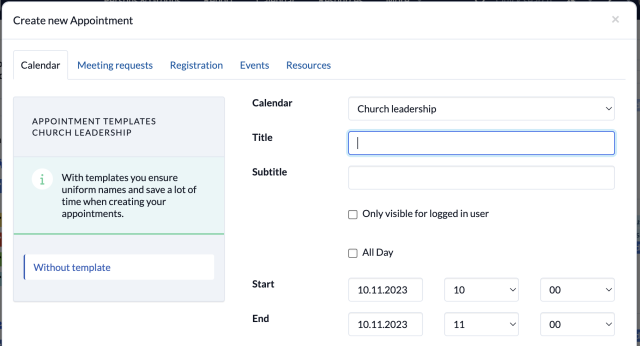
3. Fill in information #
Select the calendar in which you’d like to add the date and fill in all other information.
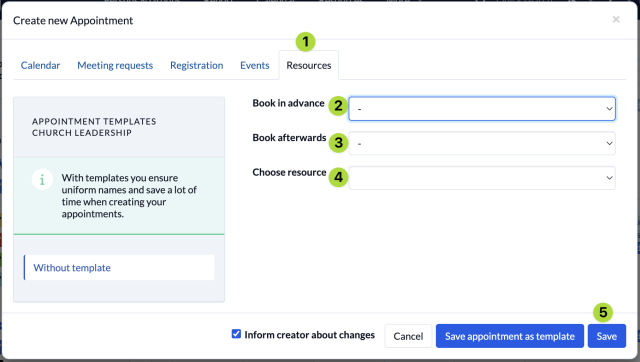
4. Book resource #
Navigate to the Resources (1) tab, choose for how long before and after your appointment the resource should be blocked (2) , select the resource (3) you want to book and save (4) your appointment.
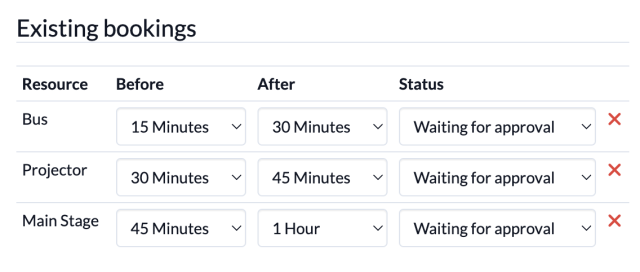
You can book multiple resources after each other and get a nice overview of all the resources you’ve booked with your appointment and the status of the booking.