Here you will get an introduction to the concept behind ChurchTools Website and an overview of the admin area.
How does ChurchTools Website work? #
Before we take a closer look at each section of the menu and dive into editing the website, it is important to understand how ChurchTools Website works.
First of all, creating and publishing a piece of content (e.g. a page, post, group, etc.) just means that this content exists and is accessible under its specific link (more on this in the articles linked below). However, it does not necessarily mean, that the content created will be displayed to visitors to the website when they are on the website.
In order for a piece of content to be clickable or discoverable through navigation on the website, you need to link it, for example as a link under navigation, by placing an element that displays the content on a page. You can read about how this works in detail in the articles linked below.
The header bar #
At the top of the admin area is the header bar:

1. Show or hide menu #
Here you can show or hide the menu.
2. ChurchTools logo #
Clicking on the ChurchTools logo always takes you immediately to the start page of the admin area.
3. Search #
The search function is similar to the quick search function in ChurchTools. Here you can search for existing content, such as pages, posts, events, etc. If you have saved favourites (see point 4), these will be displayed when you click on the search bar so that you can quickly navigate to pages that you visit often.
4. Save as favourite #
By clicking on the pin symbol, you can save the page you are currently on in the admin area as a favourite or set it as your start page. The start page is the page that is displayed first when you log into the admin area. By default, the Dashboard is set as the start page.
5. Useful links #
Behind the book icon you will find the link to ChurchTools Support and keyboard shortcuts.
6. Show website #
The button to the left opens the ChurchTools website as visitors see it. This view will open in a new tab.
7. Your profile picture #
By clicking on your profile picture you can log out or navigate to your user account.
The menu #
Overview #

The overview shows you information about the website, such as a summary of the latest updates.
Content #

Pages #
Here you can find all the pages that exist on your website and create new pages. A page either represents different content such as posts, groups, pictures etc. by means of different elements or it simply contains text.
Posts #
Posts work in a similar way to pages. They can display other content using elements and have a short view that you can display in overview pages. A post on the ChurchTools website works similarly to a post on a social network: so you can use them well to display news on your website.
Appointments, persons and groups #
Appointments, persons and groups can be imported from ChurchTools and are used to display important information that already exists in ChurchTools, on your website. Imported appointments are automatically assigned keywords that correspond to the calendar name in which they are created in ChurchTools. If a calendar is assigned to a campus in ChurchTools, this information is also transferred to the calendar name on the website. You can find out more about importing data from ChurchTools in the article linked below. You can find out what a keyword is a few lines further down.
Sidebar #
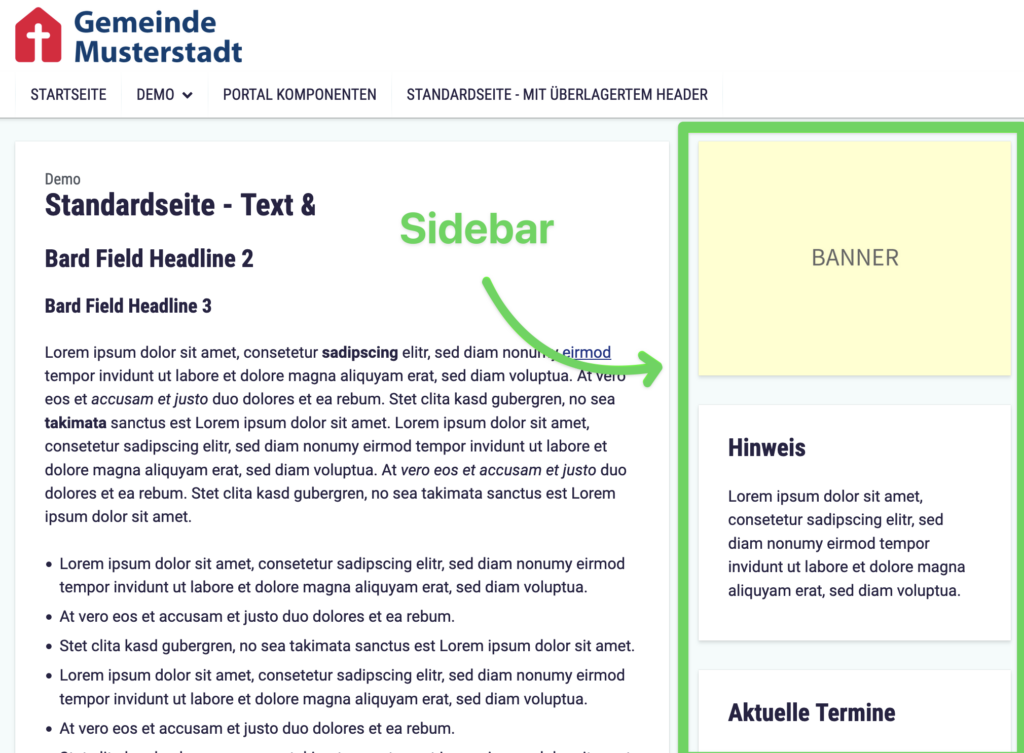
The sidebar is the column that appears to the right of the actual page content. You can select and freely configure sidebars when creating content (except for portal and overview pages). You can group different elements in the sidebar and save the groupings.

Files #
Here you can see all the files that have been uploaded to your website. For a better overview, you can organise them in folders. You can either upload new files here and then select them for display in elements or upload them directly when you create content. Afterwards they will also be displayed here.
Navigation #
Header and footer #
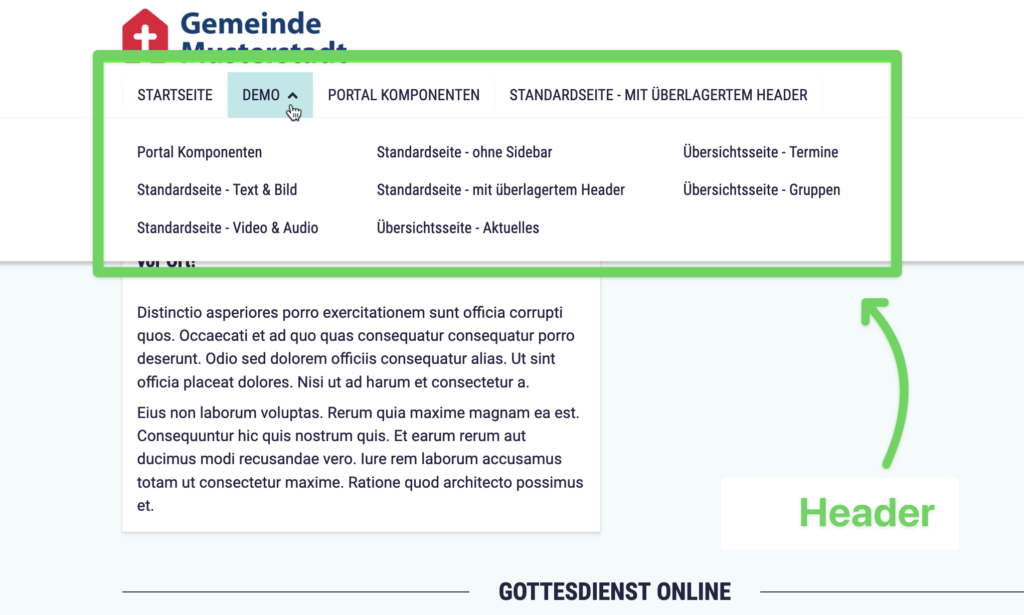
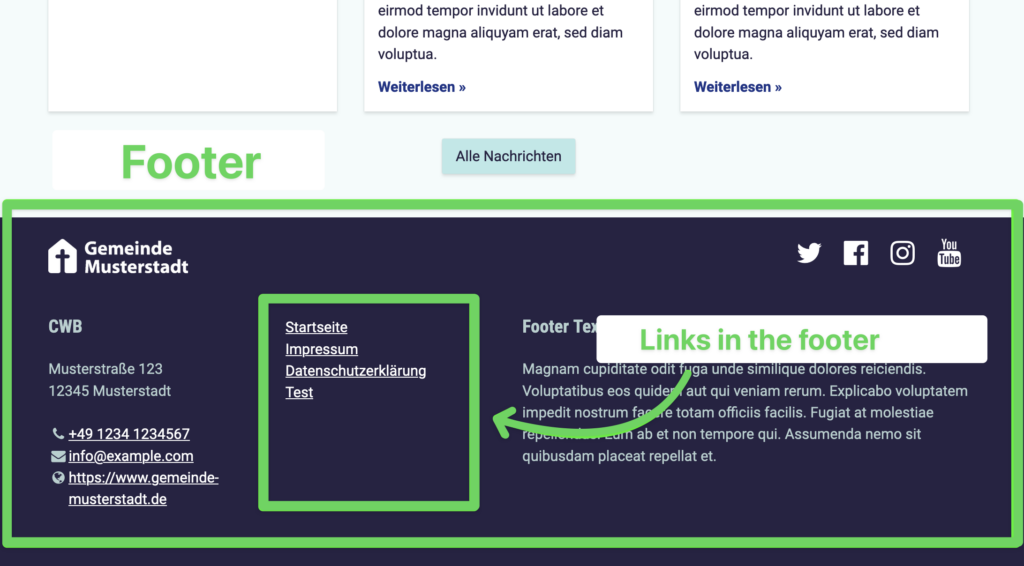
Here you configure which pages are to be displayed in the header of the website and how they are to be arranged there. You can also create and attach external links. You can also set which links are to be displayed in the footer.


More #
Keywords #
You can add keywords to posts, groups and events. This allows you to display only certain events in different places, for example, or to show visitors to your website a filter option.
Updates #
Here you can find a detailed list of all updates to the ChurchTools website and find out about changes and new features.
Settings #
In the settings you will find extensive options for customising the design of your website. You can also change basic settings such as the name of the website, the logo, the default settings for placeholders and much more. You can read more about this in the articles on settings linked below and in the set-up guide also linked.

