Cool that you decided to use ChurchTools Website! Here’s an overview of how to set up and get started with your new church website.
1. Start ChurchTools Website #
In the Public Relations section of your ChurchTools installation you can start the free trial phase of your website in the tab ChurchTools Website. During the test phase you can use all functions and your website link is publicly available. If you book a website package after the test phase, all your data will be kept.


2. Share data from ChurchTools #
With ChurchTools Website you can have appointments from calendars and data about persons or groups automatically imported from ChurchTools into your website. After clicking Start free trial you can select calendars and persons whose data you want to import into ChurchTools Website. Public groups are imported automatically. If you want to import a group into ChurchTools Website, set it to Public in the Persons & Groups module.
If you would like to skip this step for now or make changes later, you can easily do so by navigating to Public Relations > ChurchTools Website in ChurchTools and selecting the appropriate data under Share on the left hand side.

2.1 Share calendar #
Sharing calendars is quick and easy: Click on Share calendars, select the calendars whose dates you want to publish and click on Save.

2.2 Share persons #
You publish Persons by selecting a group and one or more roles in that group. All persons in the group who have the selected roles will be imported into ChurchTools website. Unlike appointments from selected calendars, data about persons are not published immediately. The personal data is automatically imported into the web list. There, in a second step, you determine exactly which data is to be published and manually release it for publication. You can find out how to do this in the article on how to create and edit persons.

2.3 Publish groups #
Groups are imported into ChurchTools website when they are published in ChurchTools. So if you want to publish a group, you have to activate the group visibility Public in the module Persons & Groups in the group settings. Under ChurchTools Website > Groups in Public Relations you will see all public groups and, if available, their group homepage.

3. Activate user account #

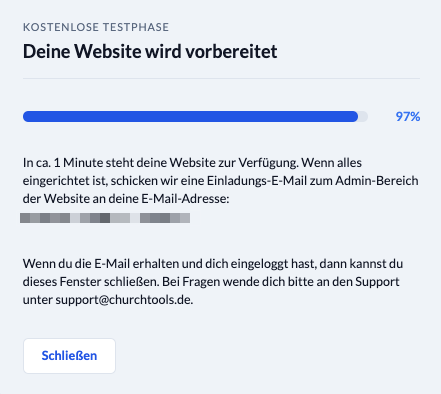
After you have started the test phase in ChurchTools, you will receive an e-mail with an activation link. This link will allow you to create a user account for your website by setting an e-mail-address and password that you can use to log in to your website.
Once you have activated your account, you will be redirected to the start page of your website. On this page we have included a few elements as examples to show you how to build your website.
To edit your website, call up the Admin area under your URL. You can access it by appending an /admin after your URL. This looks like this: https://mychurch.churchtools.website/admin.

